
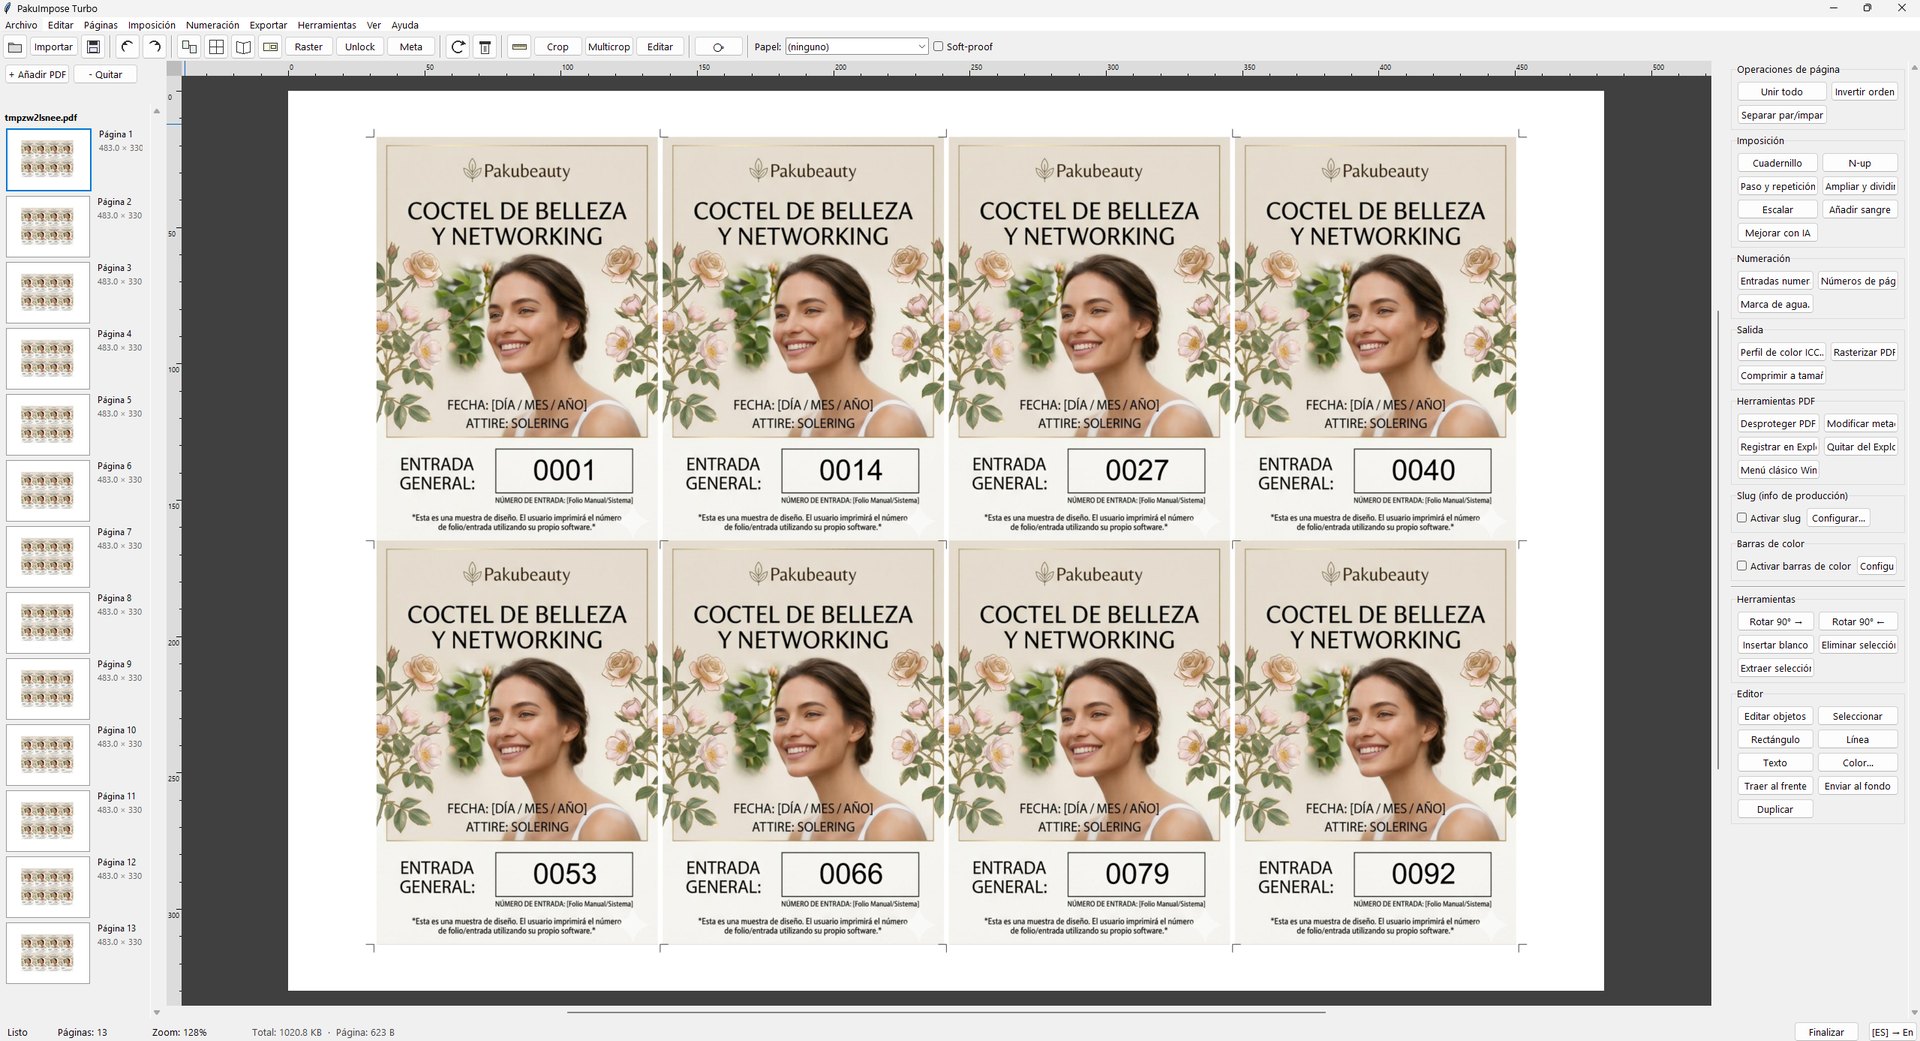
PakuImpose is a PDF imposition program for the graphic arts: it builds n-up sheets, booklets, step & repeat and tiling layouts; it does variable data printing and numbered tickets; it adds crop and registration marks, bleed and numbering; it prepares the print & cut job for cutting tables (print PDF, DXF and JTP in one pass); it merges, crops and organizes PDFs; it edits objects and manages color with ICC profiles. All in a single window and built for real production: it opens and processes multi-gigabyte PDFs over the network without waiting, and saves 100% vector.
01 — What it is and who it's for
PakuImpose is the prepress operator's everyday tool: merge several PDFs, impose, add marks, number and send the sheet to the RIP. It runs on Windows (10 or 11, 64-bit), with an installer that needs no administrator rights and then keeps the program up to date on its own.
The difference from imposing "by hand" in other suites is twofold. First, speed with huge files: opening a multi-GB PDF on a network share takes seconds, not minutes. Second, every operation is structural on the PDF — nothing is re-rasterized unless you ask for it, so a normal save comes out 100% vector, with text and lines intact.
It works in two modes: standalone (open it and work) and integrable into a workflow (it takes a JSON job, processes it and returns the result), so an ERP or order system can launch it from a work order with no manual intervention.
02 — Controls and navigation
The canvas behaves the way you'd expect from a professional tool:
- Zoom with the mouse wheel — the view zooms toward the cursor, like an image editor. Also with
+/-andCtrl+wheel. - Pan by dragging with the middle mouse button.
- Fit to window with
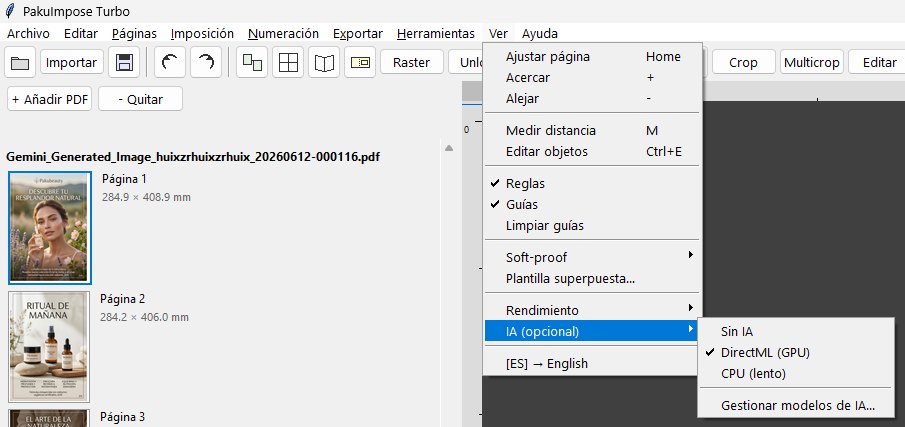
HomeorCtrl+0; page navigation withPageUp/PageDown, with the adjacent page cached so the change is instant. - Rulers and guides on the canvas, plus a measure tool (
M) to check real distances before printing.
03 — Imposition: n-up, booklets and sheet layout
The heart of the program. All four modes share the same margin and mark math, so what you see in the preview is exactly what comes out on the sheet.
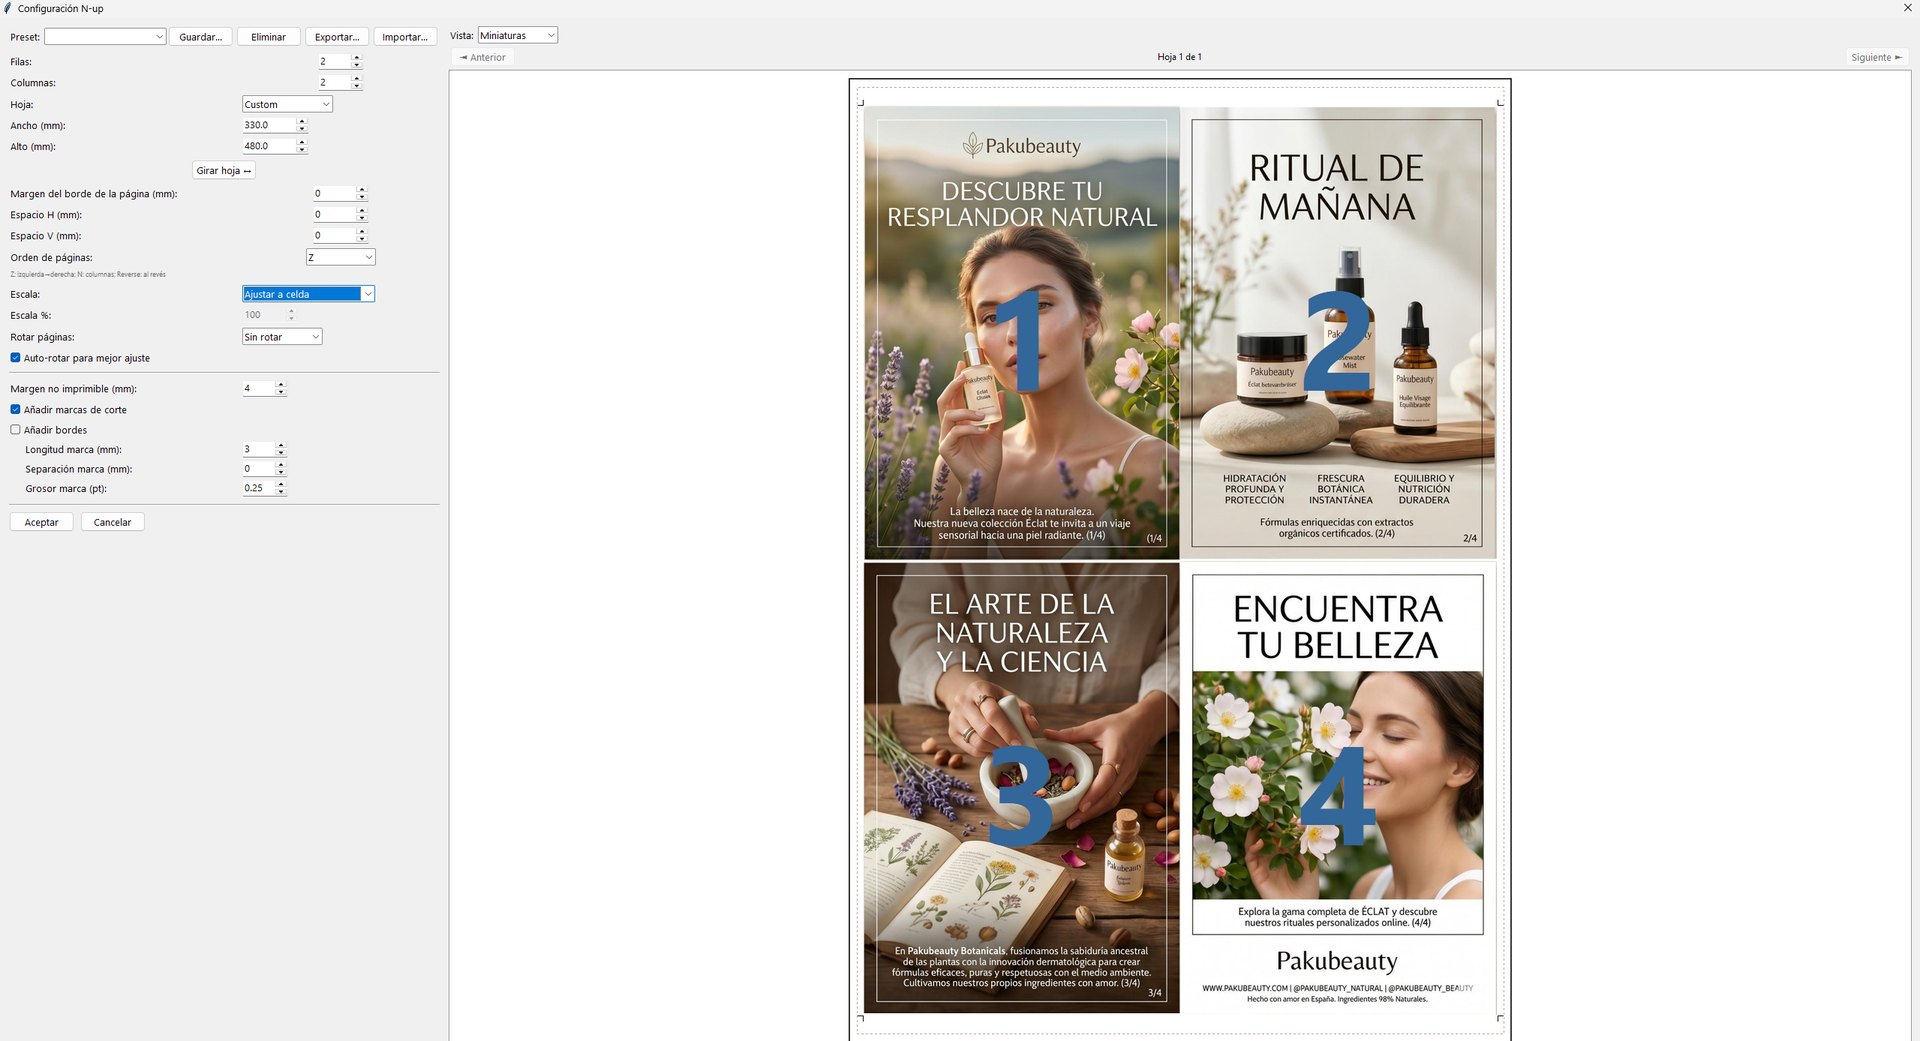
N-up — several pages per sheet on a grid. Pages are packed flush (whitespace stays as a centered margin, never between pages, so a single cut separates adjacent designs). Three layout orders: Z (row-first), column-first and reverse for the back-up. Auto-fit computes the scale that fills the cell, or you can impose at real size (100%): if the page overflows the cell it is placed at real size, centered, and clipped to the cell, flagged in red in the preview so it never slips by.
Light sheets the RIP rasterizes in a flash. When imposing, PakuImpose does not duplicate the page bytes: it references the same object as many times as needed. A 100-up of a 50 MB design weighs ~50 MB, not 5 GB. And because the RIP recognizes that shared object, it rasterizes it only once and reuses it in every position → n-ups, cards and tickets come off the RIP extremely fast.
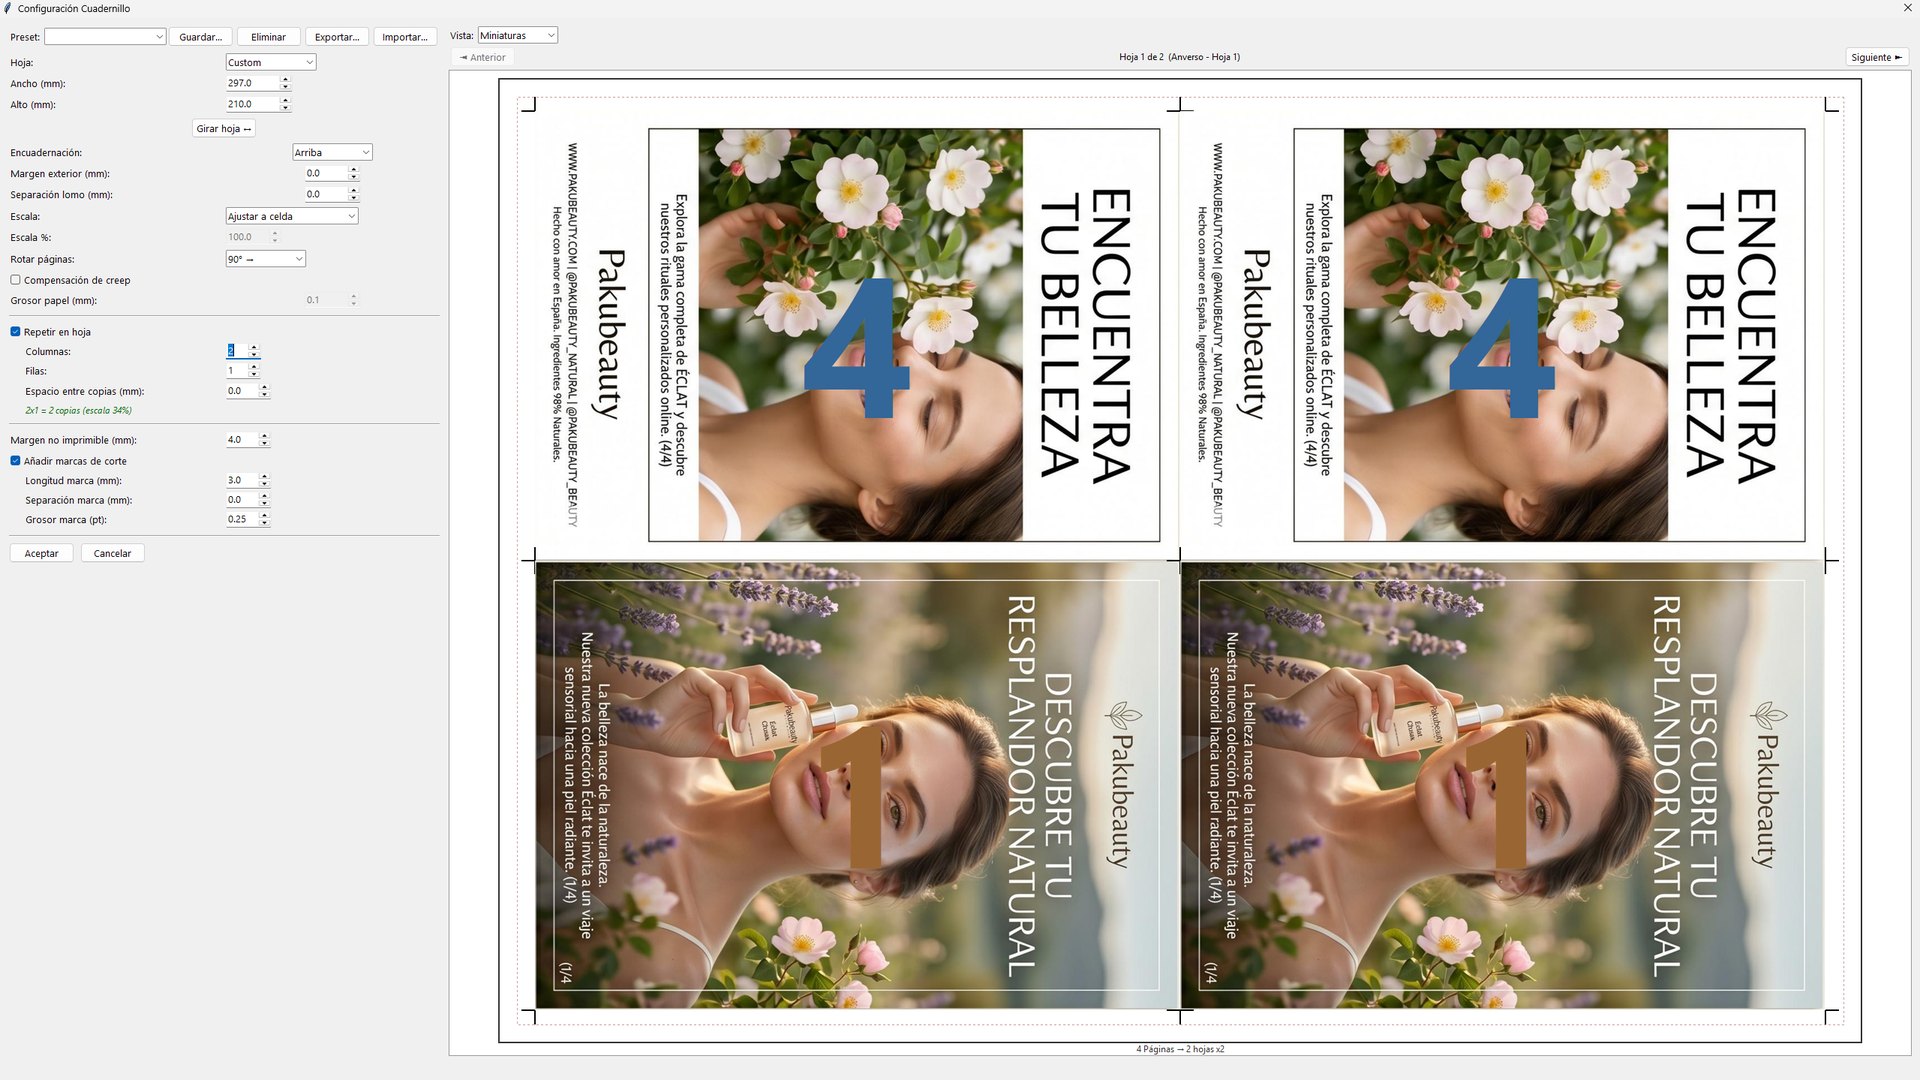
Booklet — reorders and imposes pages for saddle-stitch binding, with creep compensation: inner sheets shift progressively toward the spine (maximum on the center sheet, zero on the covers) so the margins don't "walk" when the closed booklet is trimmed. And it can lay out multiple booklets per sheet (n-up booklets), making the most of large sheets to produce several magazines or leaflets in a single run.
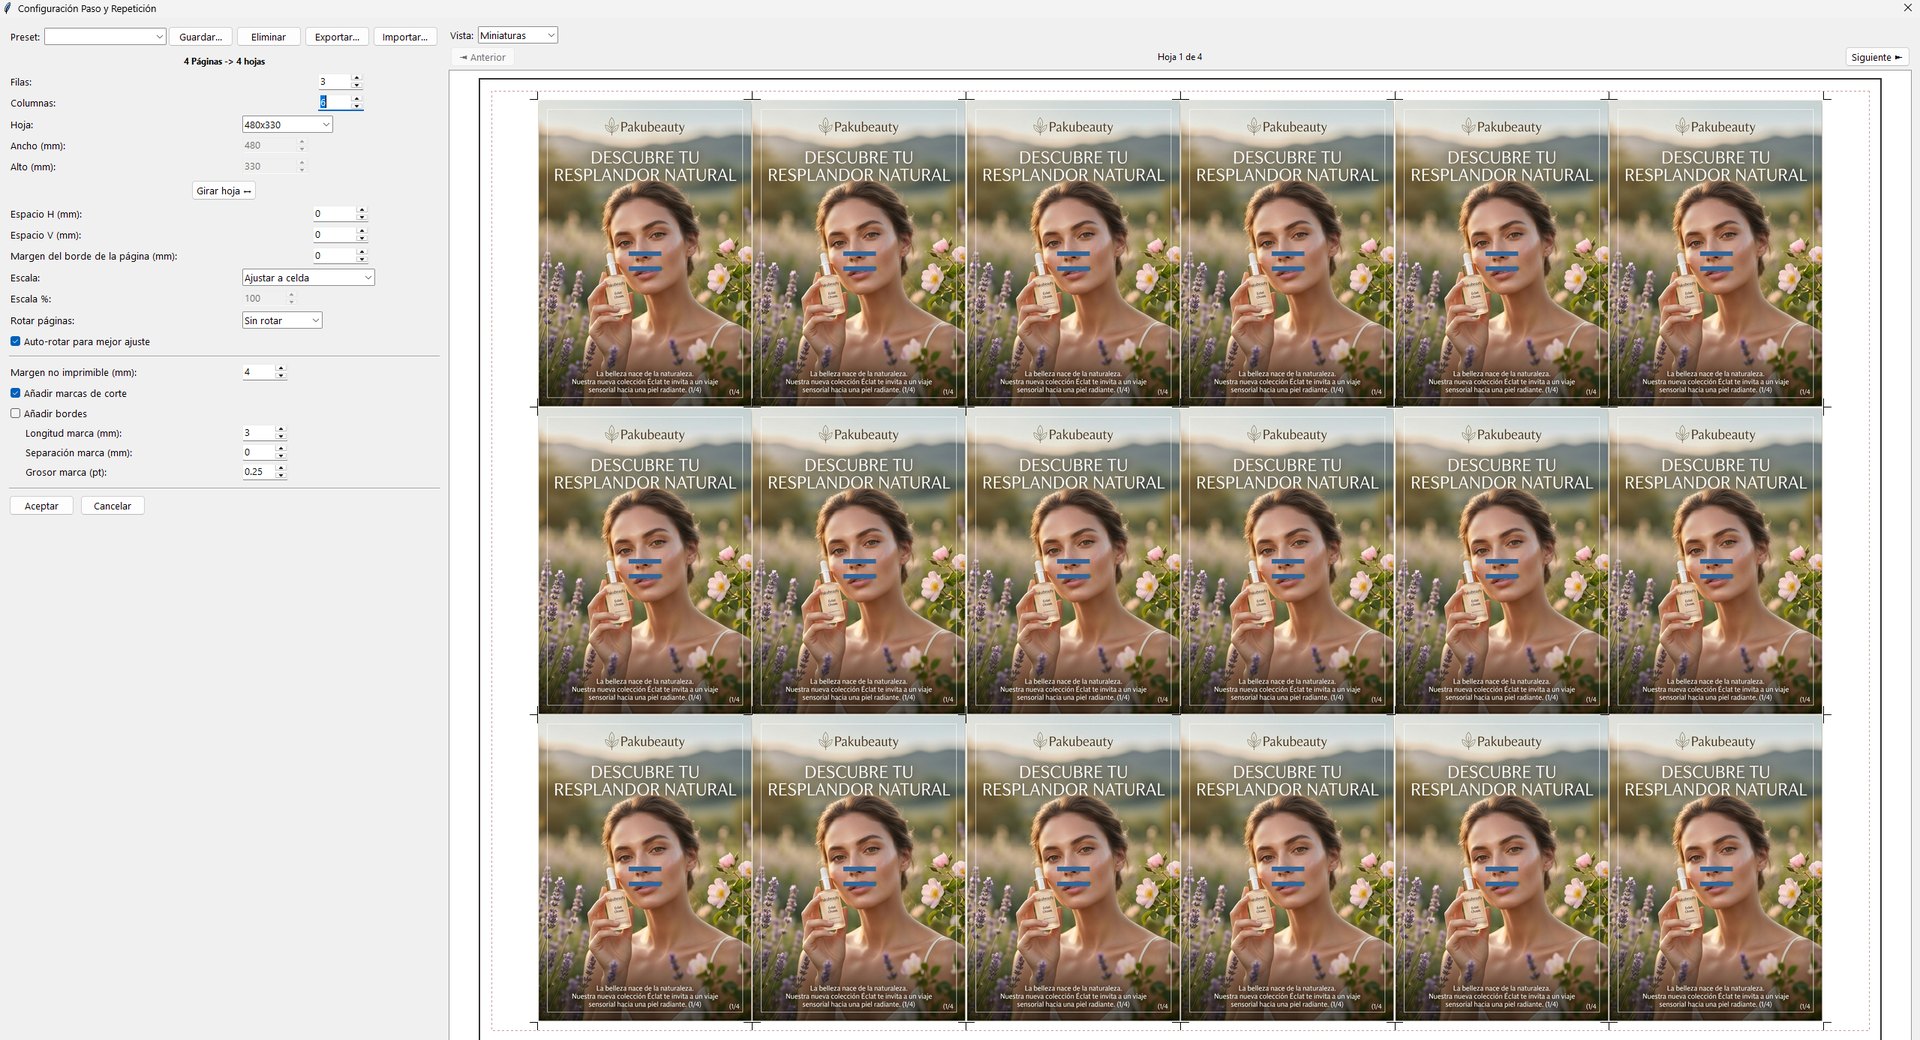
Step & repeat — repeats one page in a matrix across the sheet, with automatic nesting that computes how many fit given the sheet size and margins. Ideal for business cards, labels or stickers.
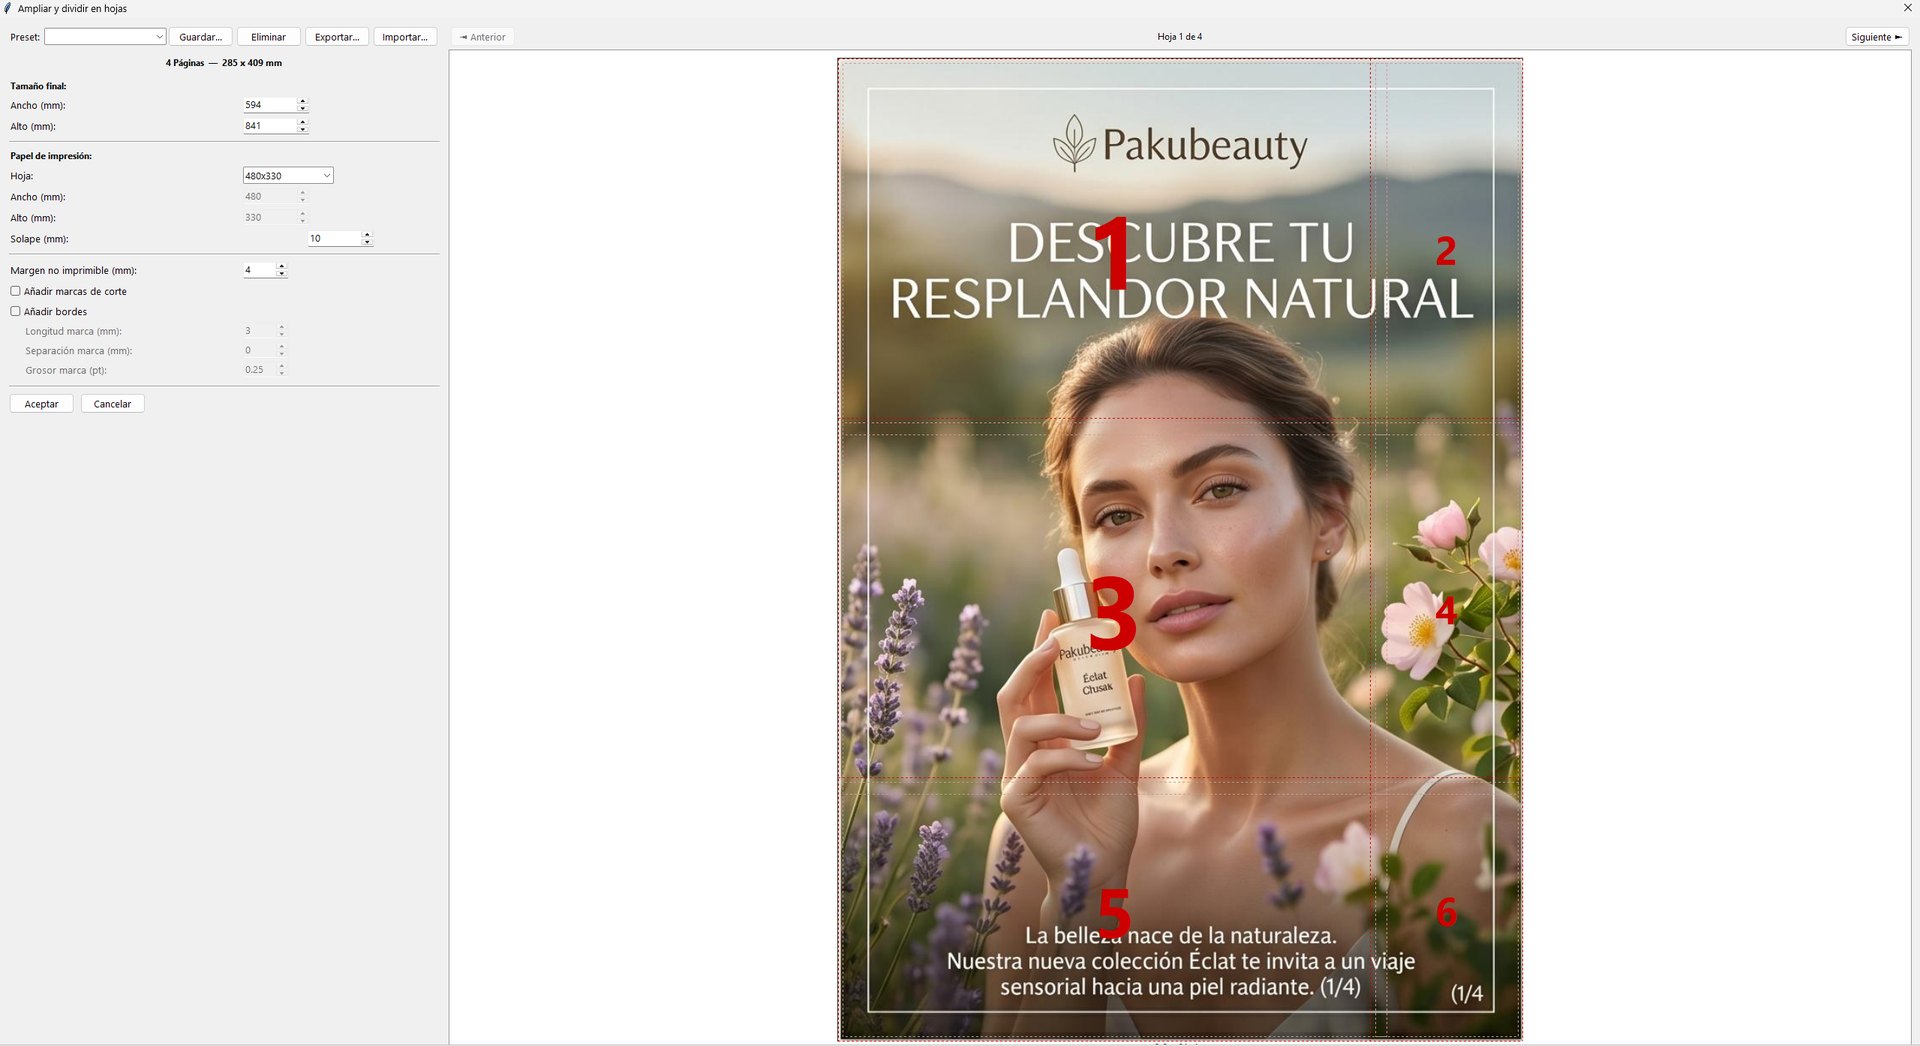
Tiling — splits an original larger than the sheet into several printable, overlapping pieces that are then joined. For posters and large format when you don't have a plotter.
Duplex n-up and block order (cut & stack) — n-up can lay out the sheet for double-sided printing, with odd pages on the front and even pages on the back, already in the right order for the back-up. And it can order pages by blocks: once the pile of sheets is guillotined, each stack comes out already sequential and nothing has to be re-collated by hand — the fast way to run long jobs and numbering.
Nesting (gang-up) and manual imposition — nesting places different pieces, or the same one repeated, on the sheet rotating whichever ones help so that more fit, and tells you how many go per sheet and how many sheets you need. When no automation fits the job, manual imposition lets you place each page by hand on the sheet, dragging it with the mouse or typing its position and size in millimetres. And the sample document builds a test PDF with numbered pages so you can check a layout before wasting paper.
04 — Crop marks, registration and bleed
Crop and registration marks and bleed are applied consistently with the imposition: the effective margin always reserves exactly the room for the marks (configurable length and offset), and any mark that would fall on an adjacent design is suppressed automatically to keep the sheet clean. What you see on screen is, to the millimetre, what gets cut.
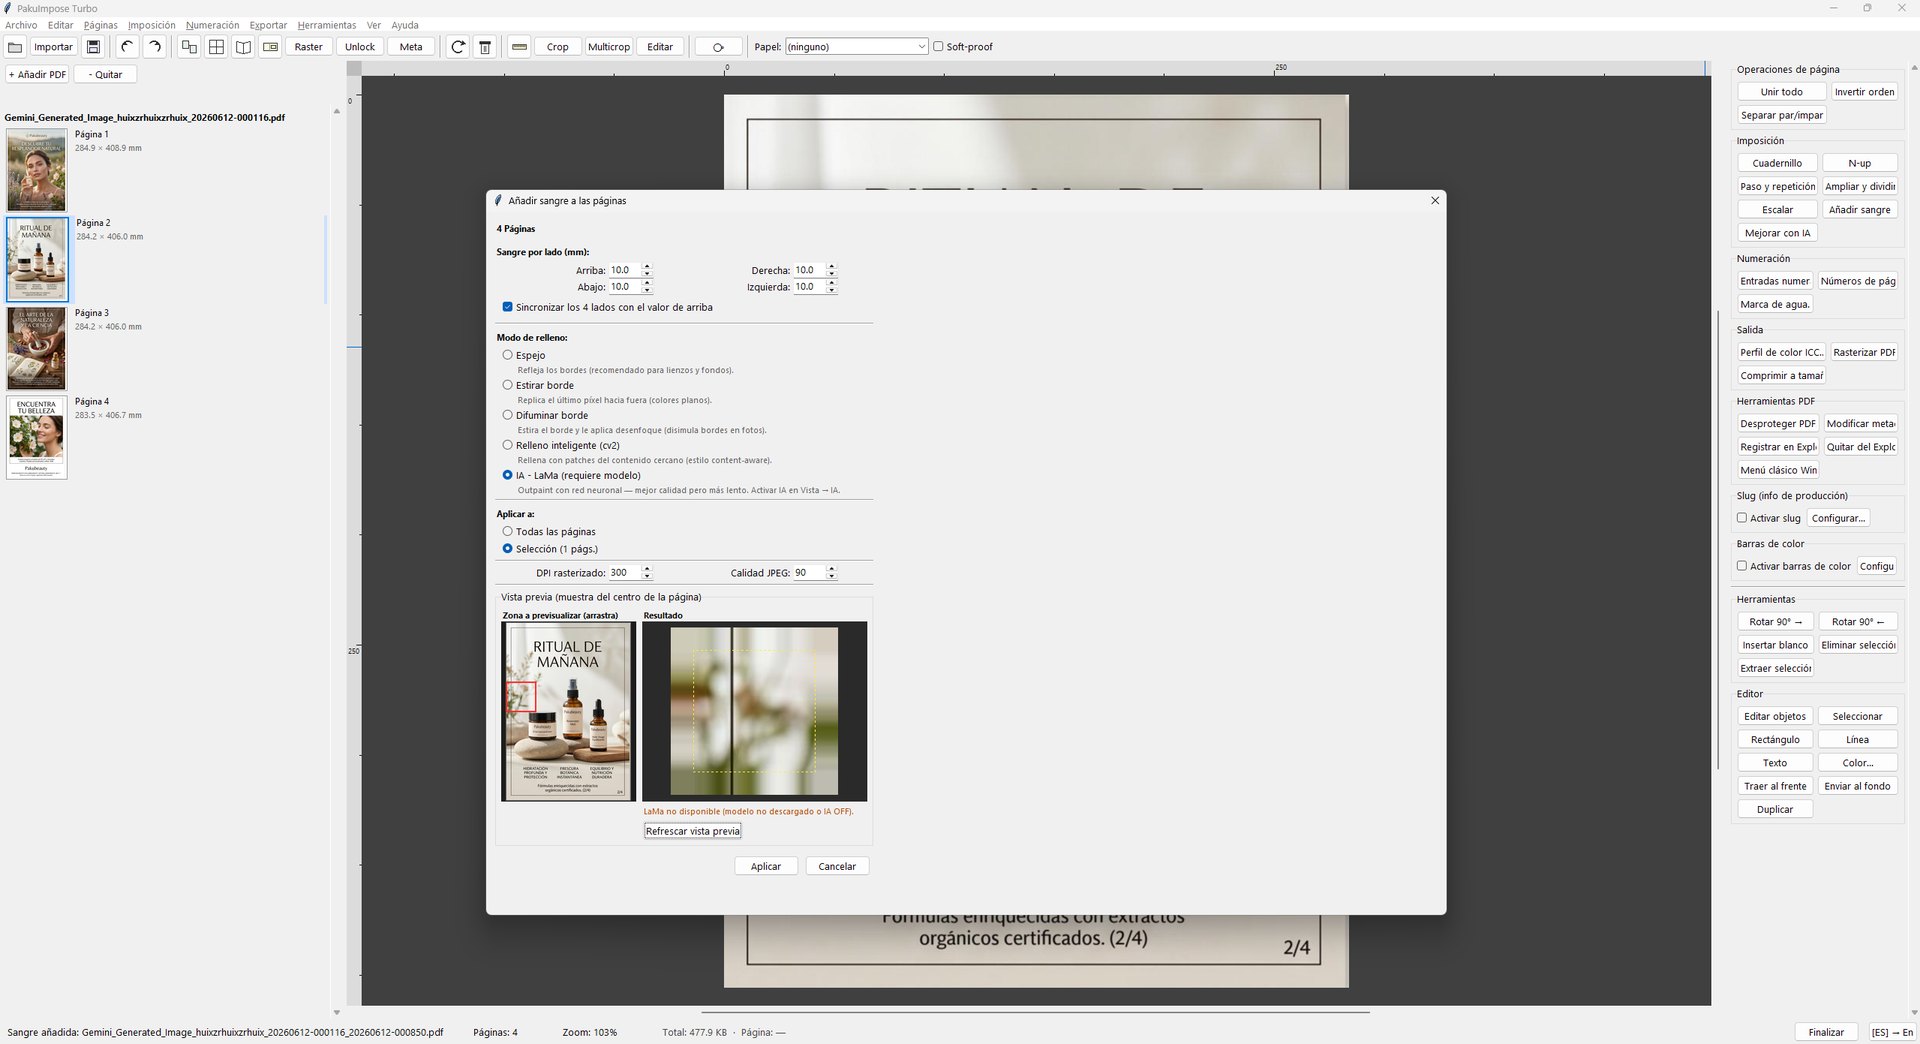
Bleed with smart fill — when a design has no bleed, PakuImpose generates it by extending the edge: mirror, stretch, blur, extend by coherence, patch, or AI fill that reconstructs the edge plausibly. Optional and 100% local.
The "Extend (coherence)" mode continues lines and gradients along their real direction — a diagonal stays diagonal inside the bleed instead of folding into a "V" the way a mirror does — and it needs no AI and no model at all. The two AI modes (fill and outpaint) go one step further and rebuild the whole band when the edge is complicated; they run on the machine itself, nothing is uploaded anywhere.
05 — Print & cut: print PDF, DXF and JTP in one pass
Anyone who prints and then cuts on a cutting table knows the dance: lay out the sheet in one program, export the cut paths in another, place the registration marks by eye and hope the machine reads the same thing the paper shows. Prepare for JWEI (Ctrl+Alt+J) does all of it at once: it takes the page you have on screen and writes three files with a shared name next to the original.
- The print PDF, with the page repeated at 100% on the sheet you choose (margin, gap, mark diameter and clearance all configurable) and the four round registration marks the table's vision module looks for, placed tangent to the set of cuts and in the order the machine expects.
- The DXF with the cut paths and the marks, in millimetres, for the cutting software.
- The JTP, the native format of the JWCS vision system on JWEI tables, ready to open with nothing to re-import or re-place.
All three files share exactly the same geometry, computed once: what gets printed, what gets cut and what the camera looks for match to the micron. PakuImpose detects the CutContour spot color and cuts precisely along it, removing it from the print PDF so it is never printed; if the design doesn't carry one, it prints images and text and cuts every vector. Bézier curves are flattened to 0.05 mm, the tolerance the machine itself works with.
Cut path optimization (on by default) — a drag knife swivels like a weather vane, and a cut that starts at the edge of the sheet and moves inward lifts the material. PakuImpose reorients every stretch that runs closer than 5 cm to the edge (adjustable) so that it cuts from the inside outwards, splitting the vector when needed; it cuts holes and details before the outer contour, so the piece doesn't come loose too early; and it chains the parts to cut down on blade turns. The cut geometry is identical — the only thing that changes is where the blade goes in. The status bar shows pen-up travel before and after, so you decide with numbers in front of you.
There is also a separate tool, Optimize JTP (Ctrl+Alt+O), that applies the same treatment to a .jtp file you already have, whatever program produced it: pick the file and it writes <name>_opt.jtp beside it, with a summary of objects, travel and corrected stretches. A file with hundreds of strokes is optimized in a second.
06 — Scaling and AI resolution enhancement
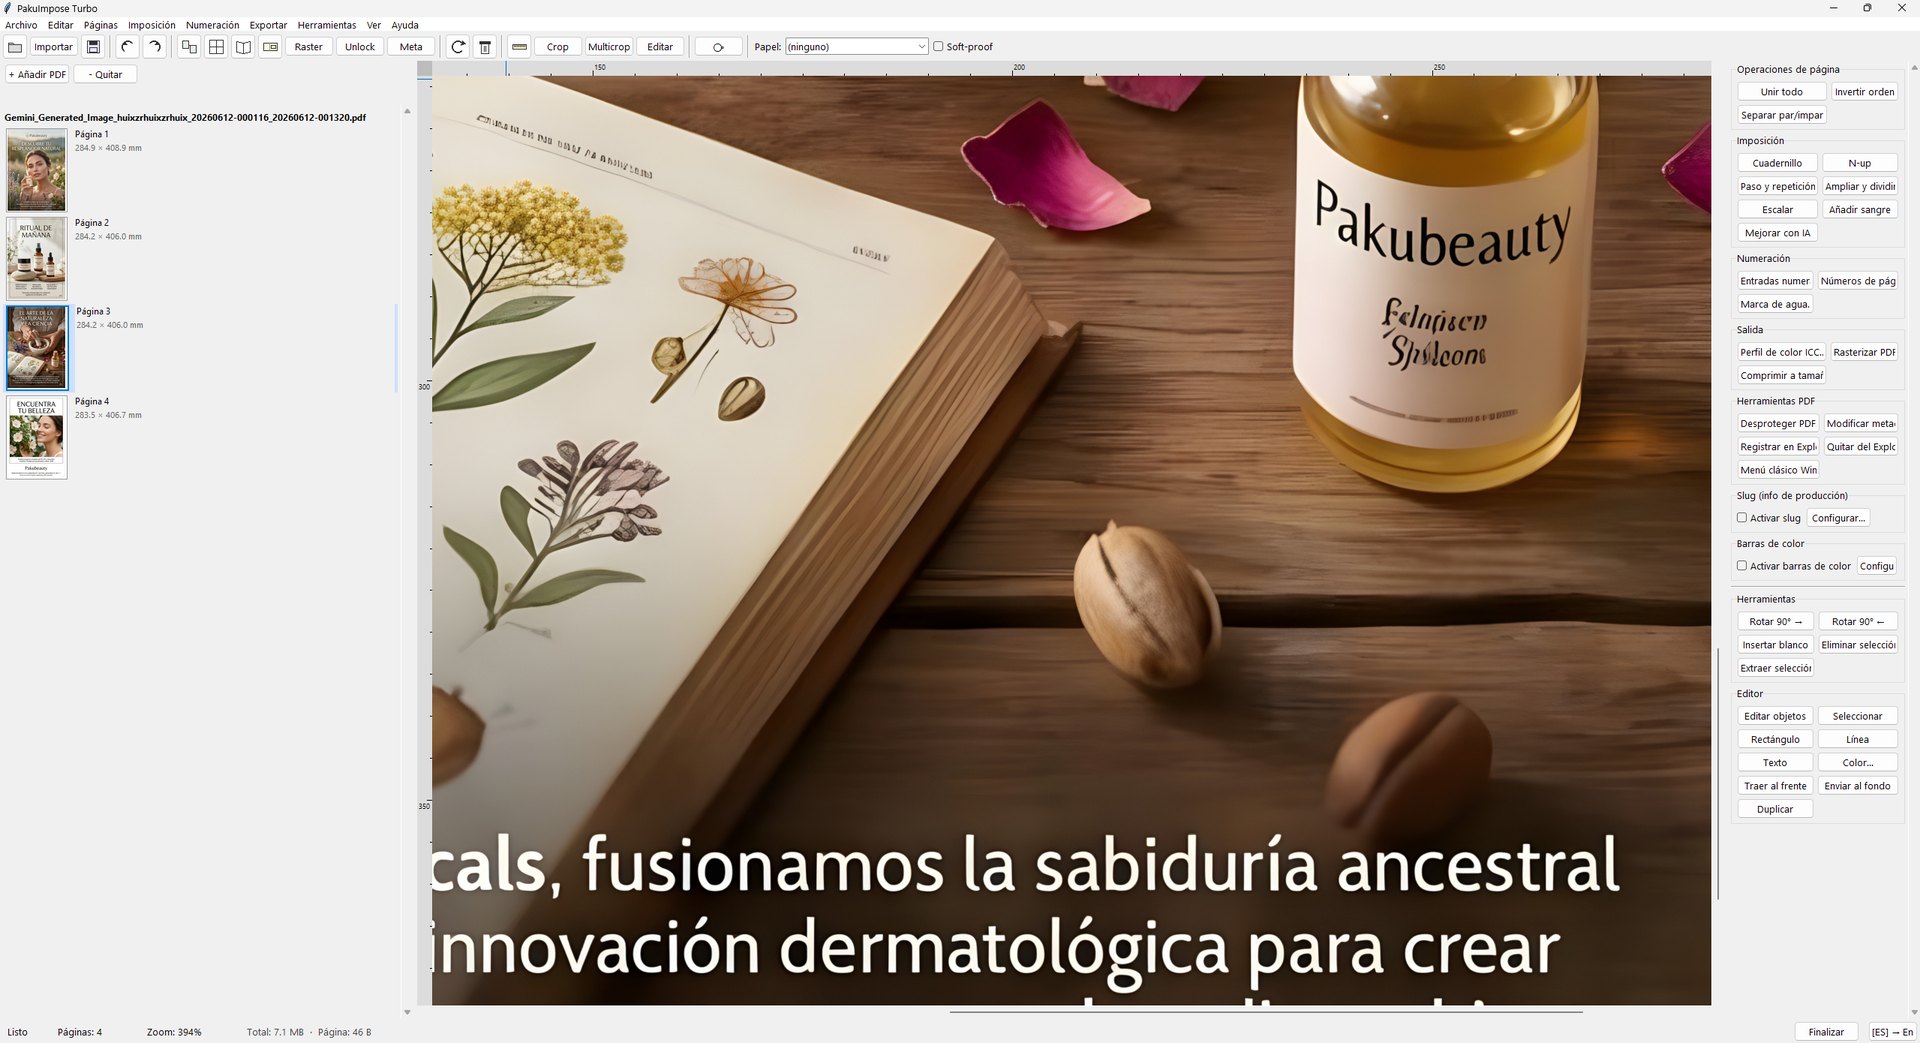
Scale pages — resize the content to a specific size, with a preview that lets you browse the whole document even if you only scale part of it.
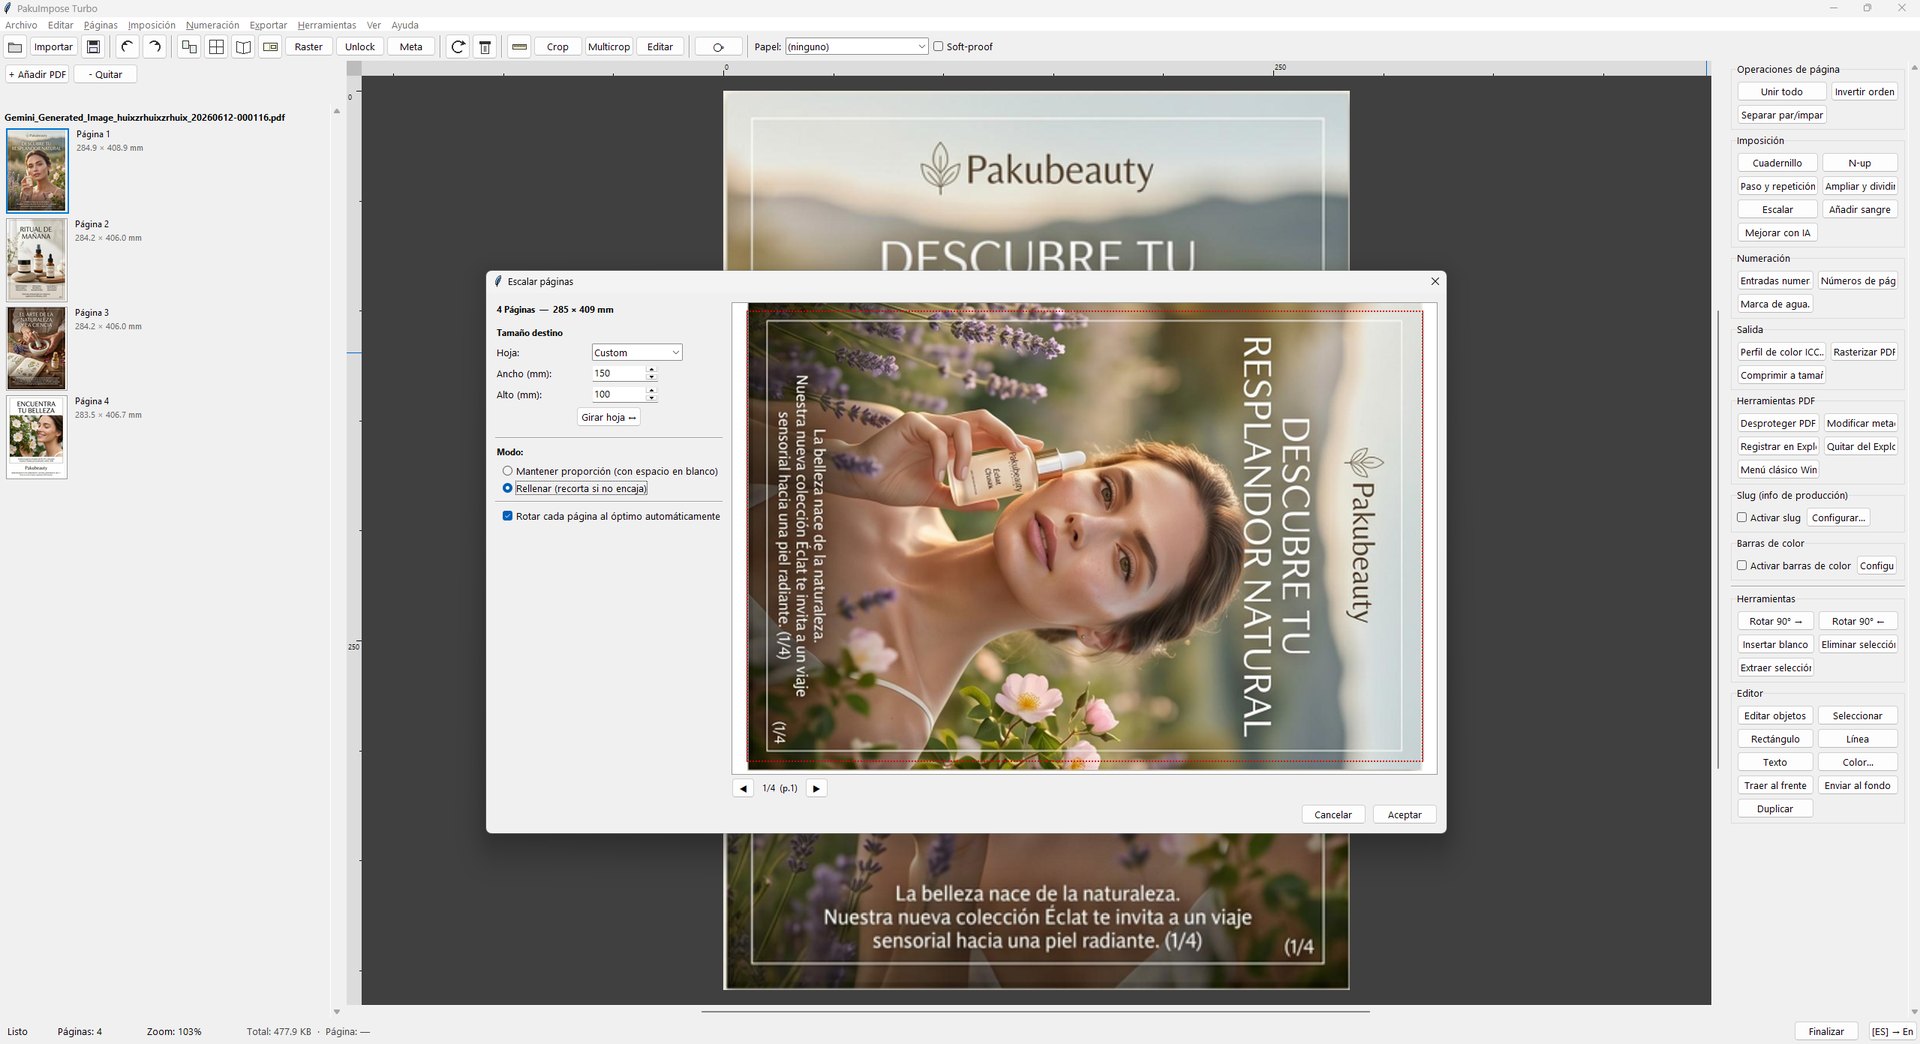
AI fill — a scaling mode for when the original doesn't have the aspect ratio of the target. It fits the page without deforming anything (the aspect ratio is never touched) and then fills the leftover bands with AI instead of leaving them white or cropping the design. It runs locally, with a progress bar, and can be cancelled; budget about half a minute per page.
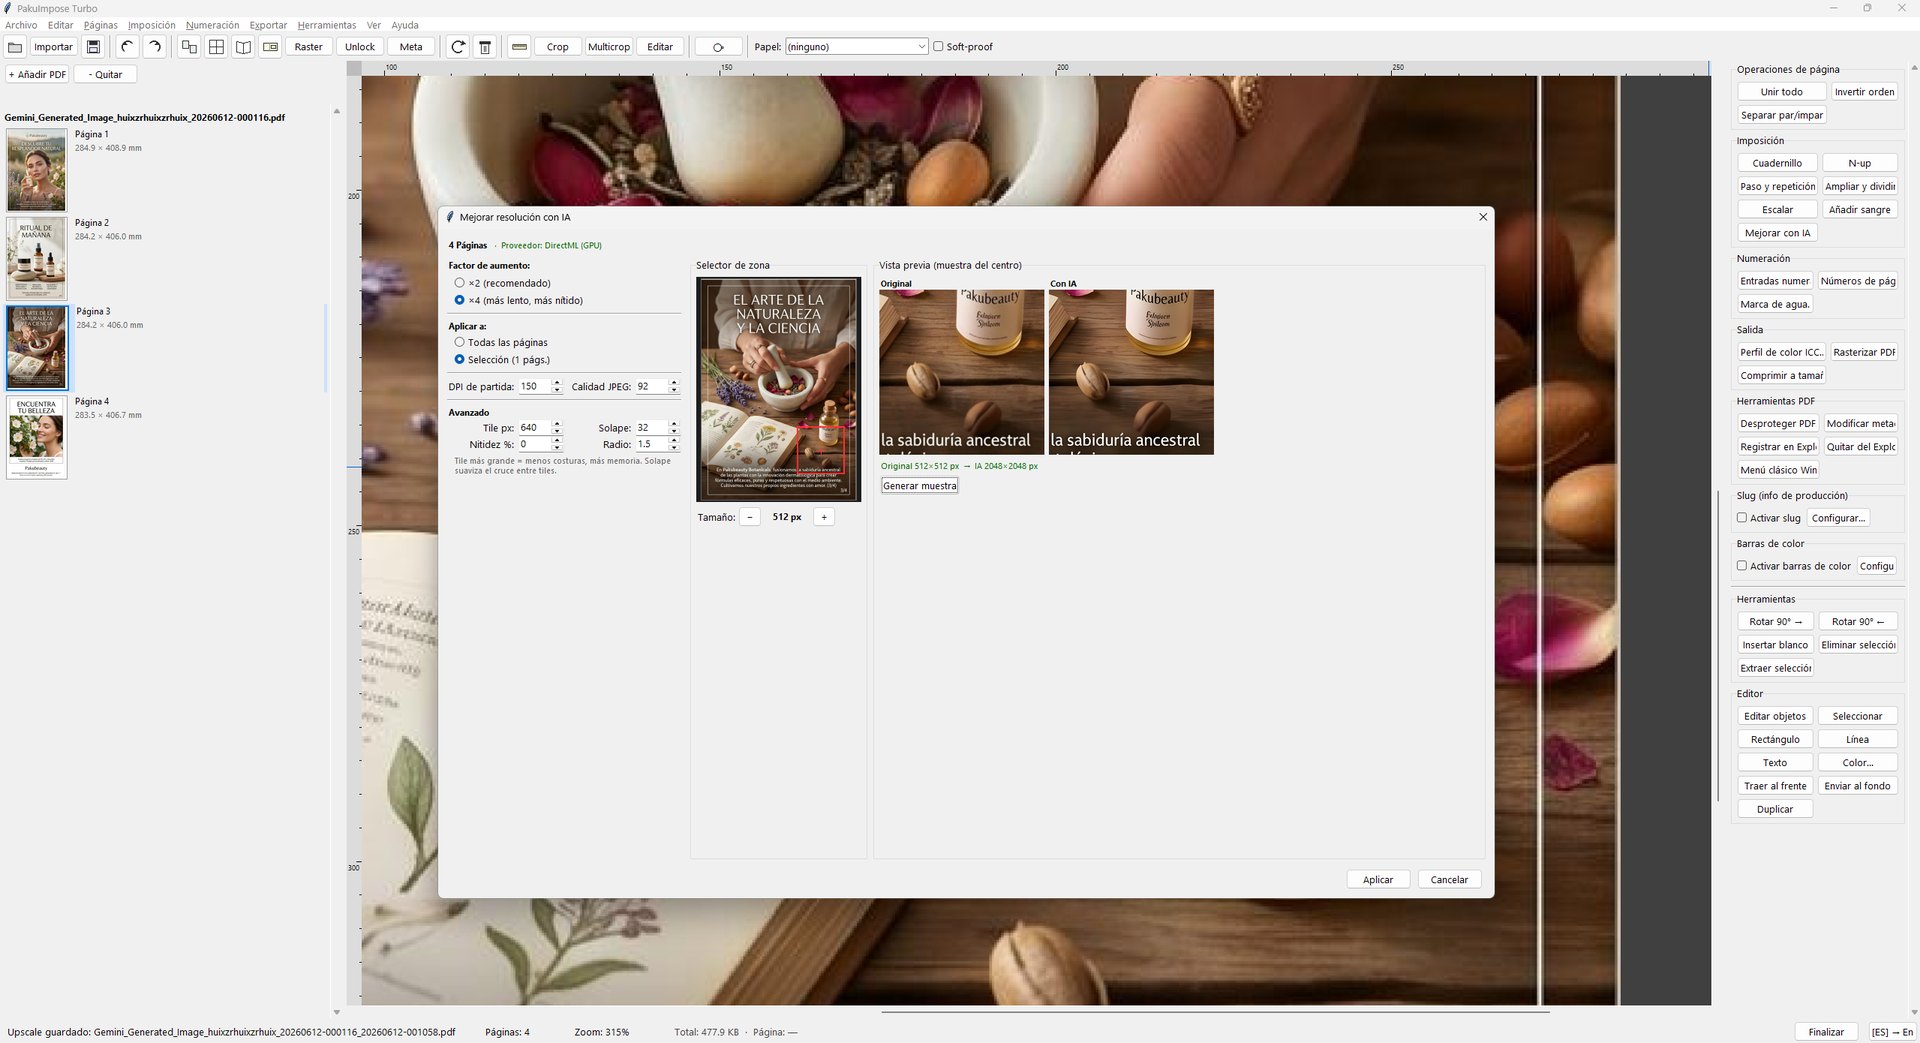
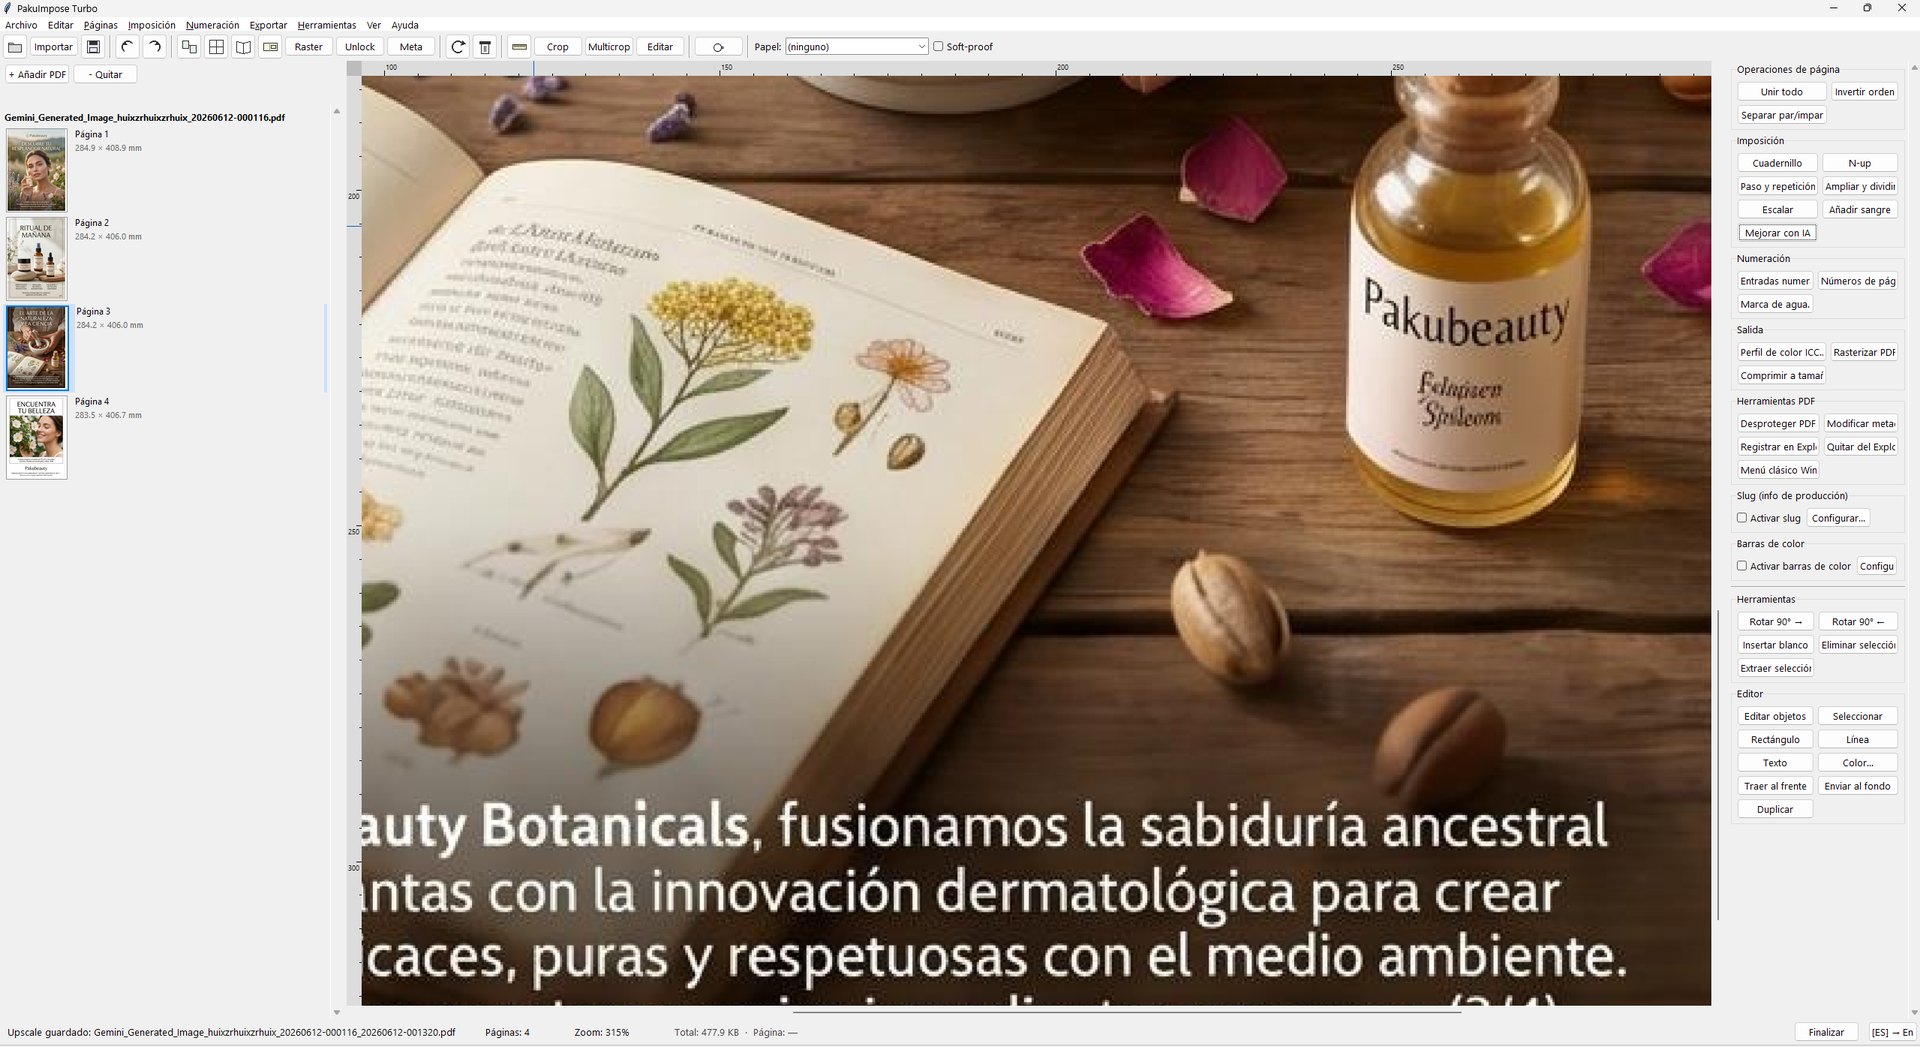
AI resolution enhancement — upscales low-resolution images with a super-resolution model (×2/×4) that runs locally, on the GPU if available or on CPU otherwise. Handy to rescue an original that arrives pixelated.
07 — Crop and multicrop
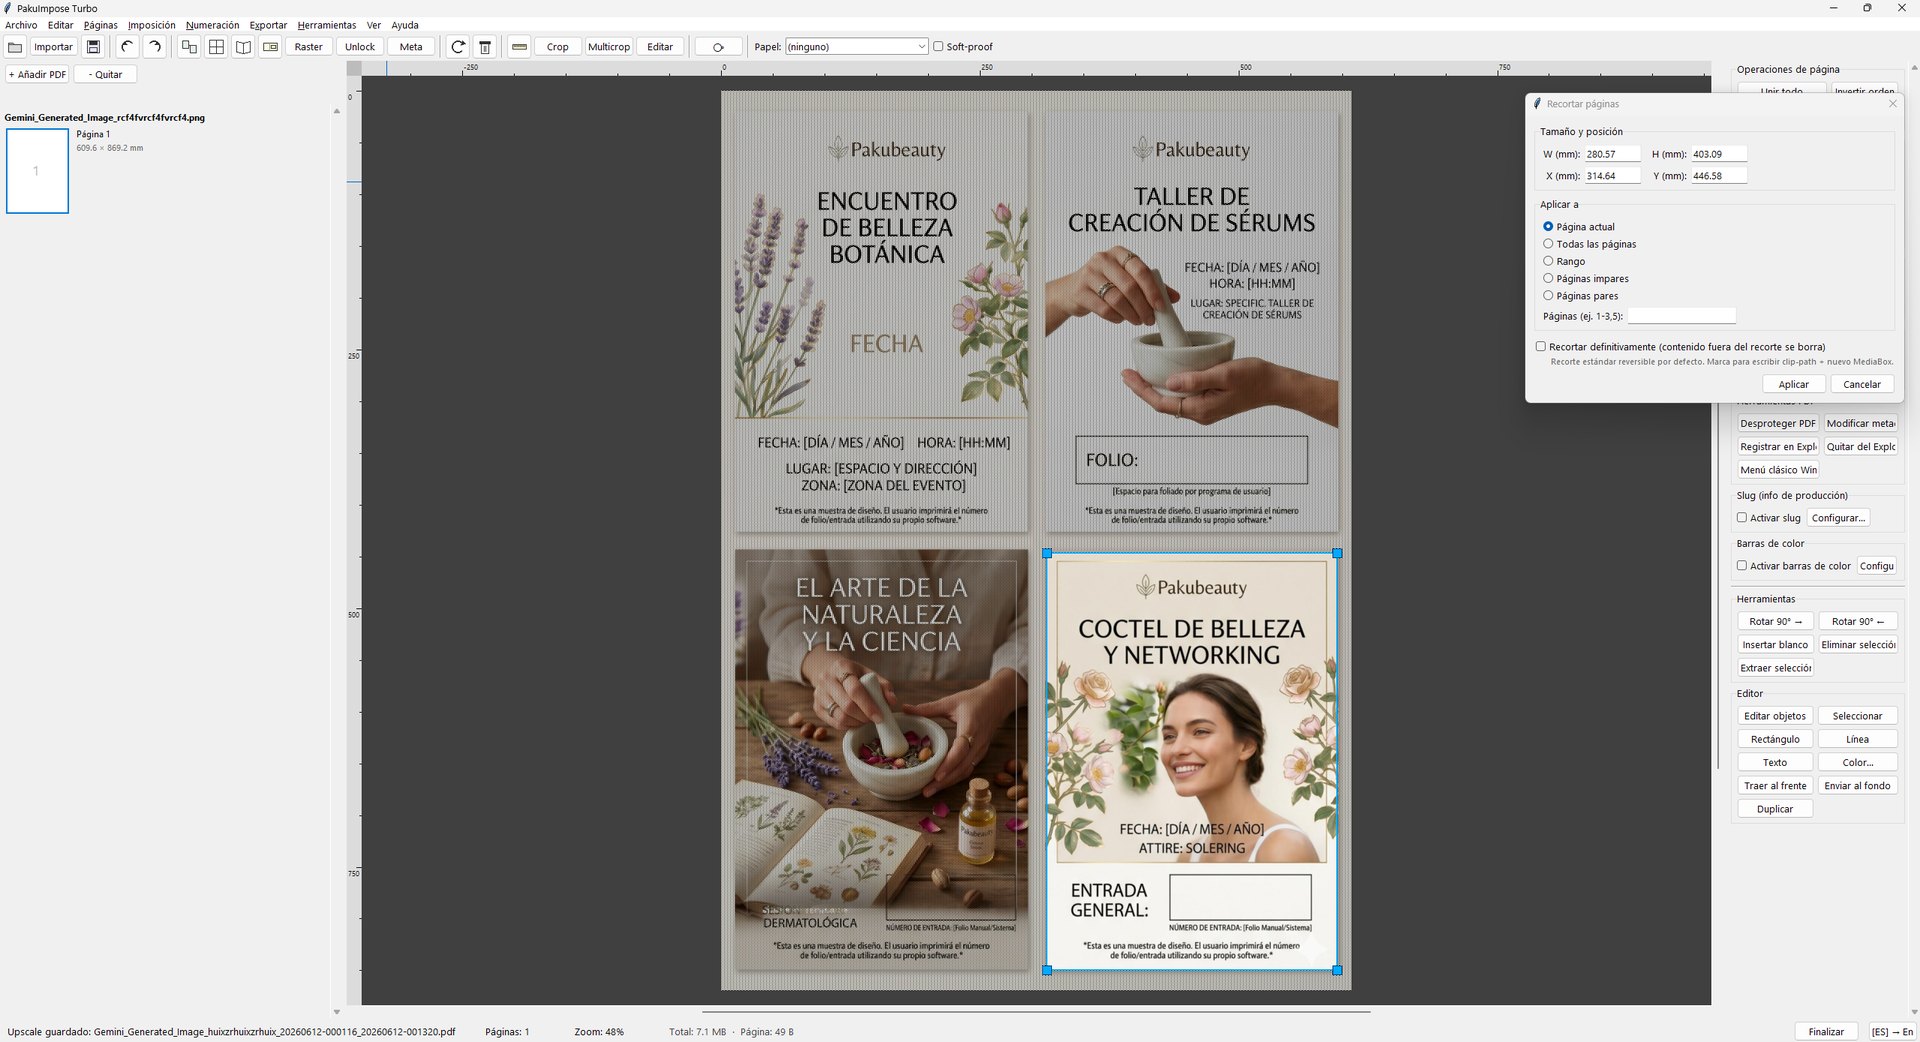
Cropping a PDF has two modes in the same flow: drag the box freely on the canvas, or type a width and height for a centered box and move it. By default it is reversible (it writes the crop boxes without touching the content); a toggle enables destructive crop, which discards everything outside and rewrites the page size. It applies to the current page, all pages, a range, or odd/even.
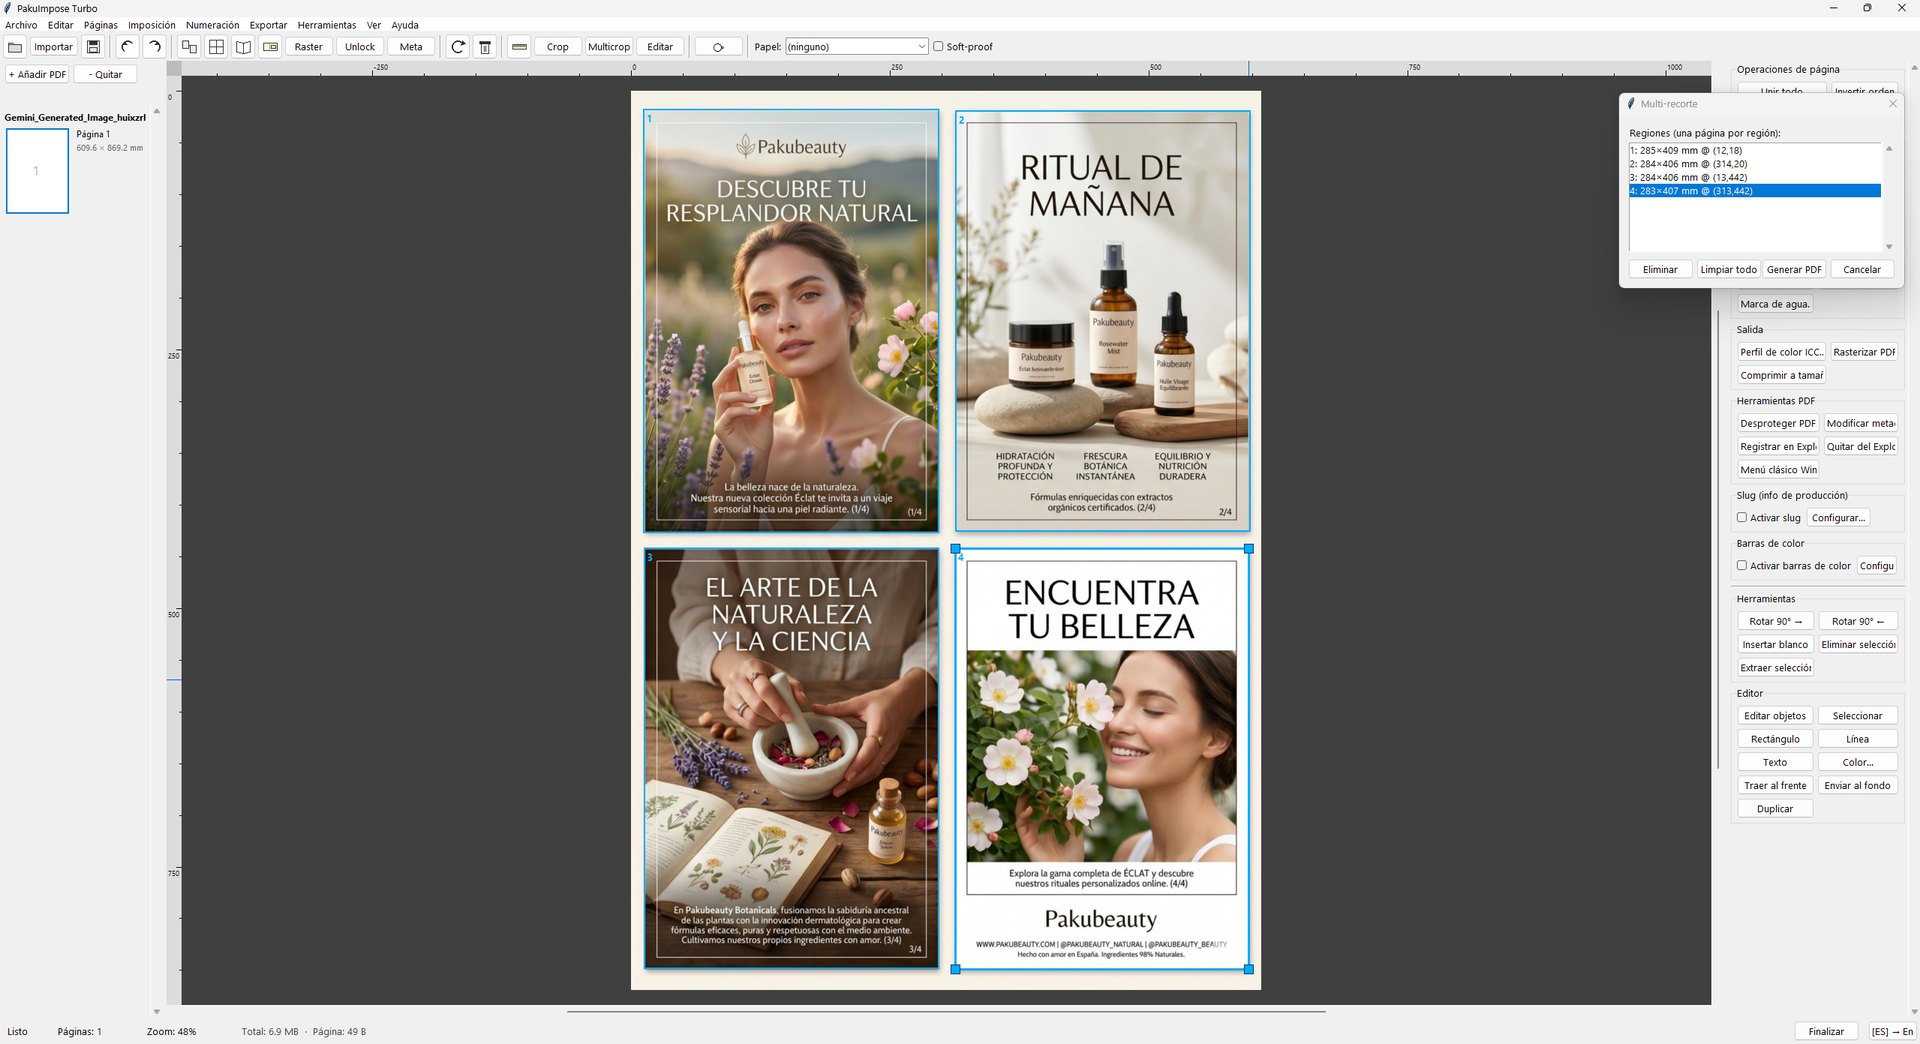
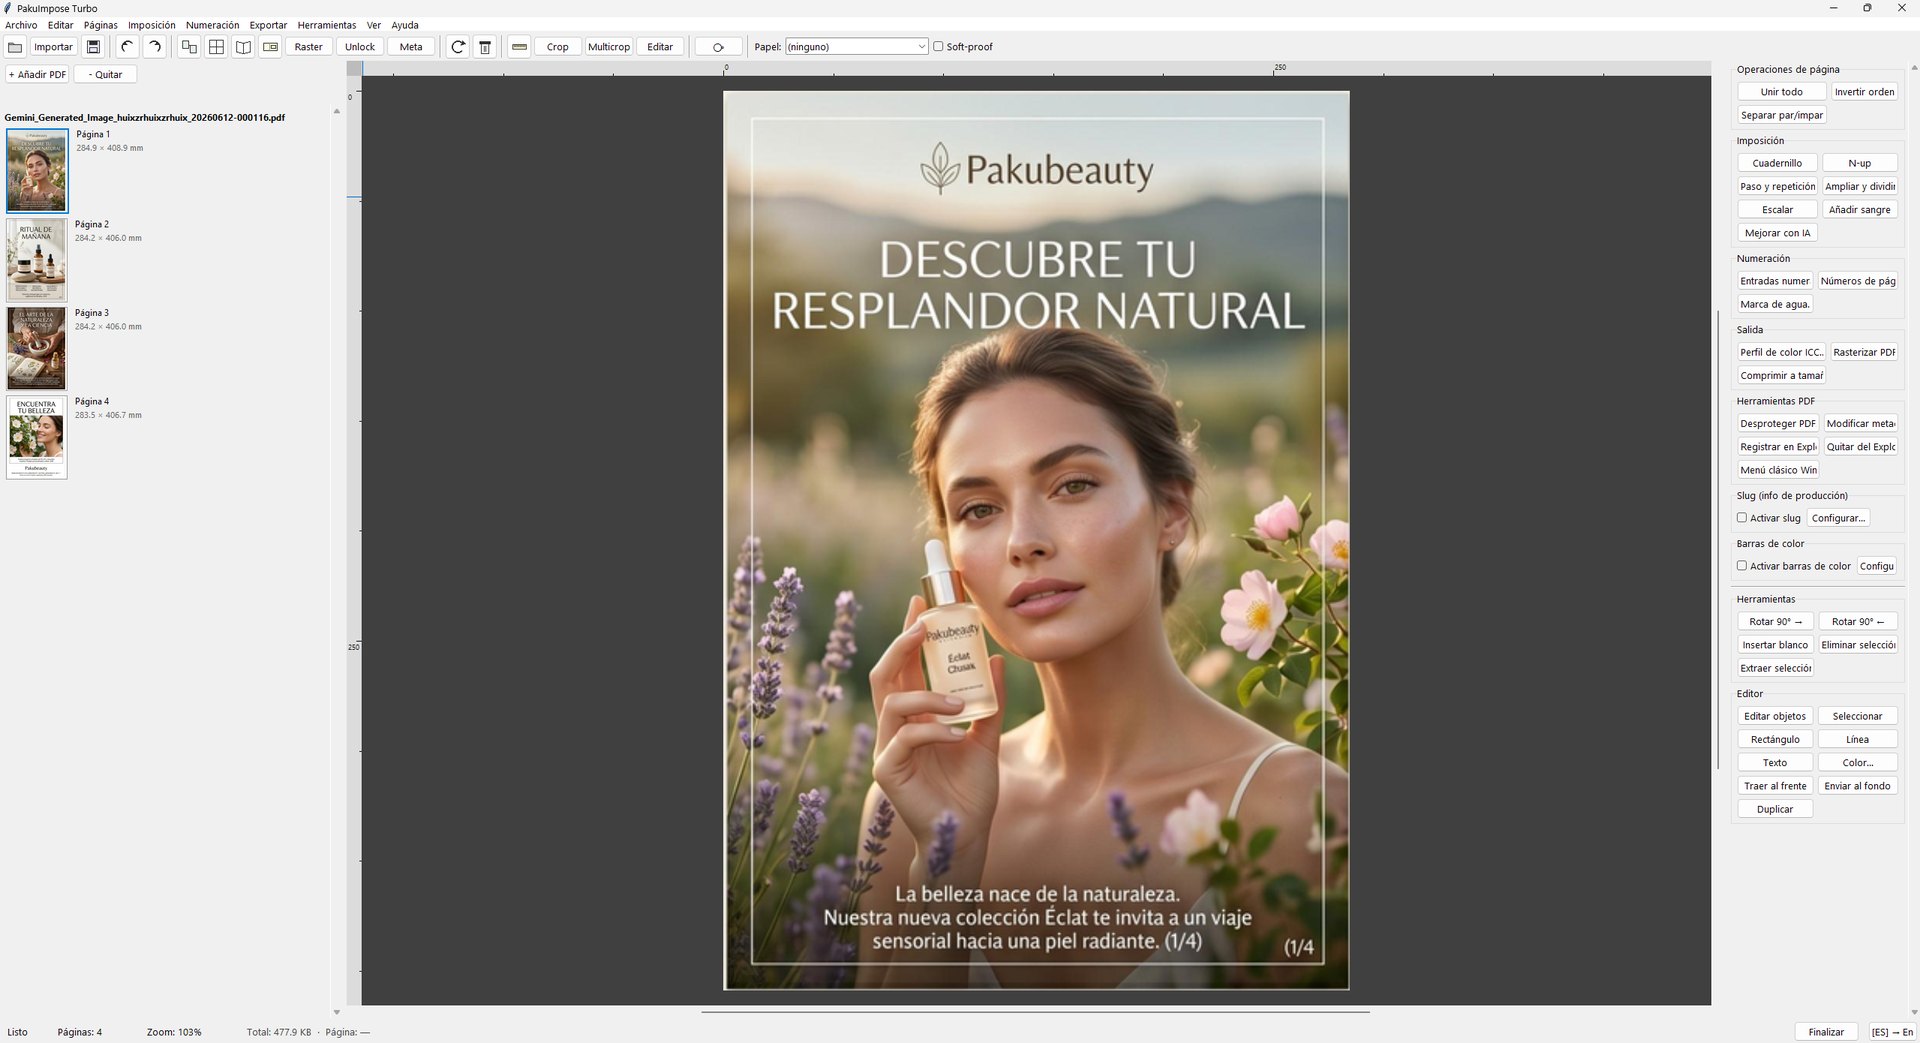
Multicrop — mark several regions by hand on one page and get a PDF with one page per region, truly cropped (vector). Perfect for splitting several designs laid out together on a single original. Here too it reuses the object: multicropping 100 regions of a 50 MB photo does not produce a 5 GB PDF.
08 — Variable data printing and numbered tickets
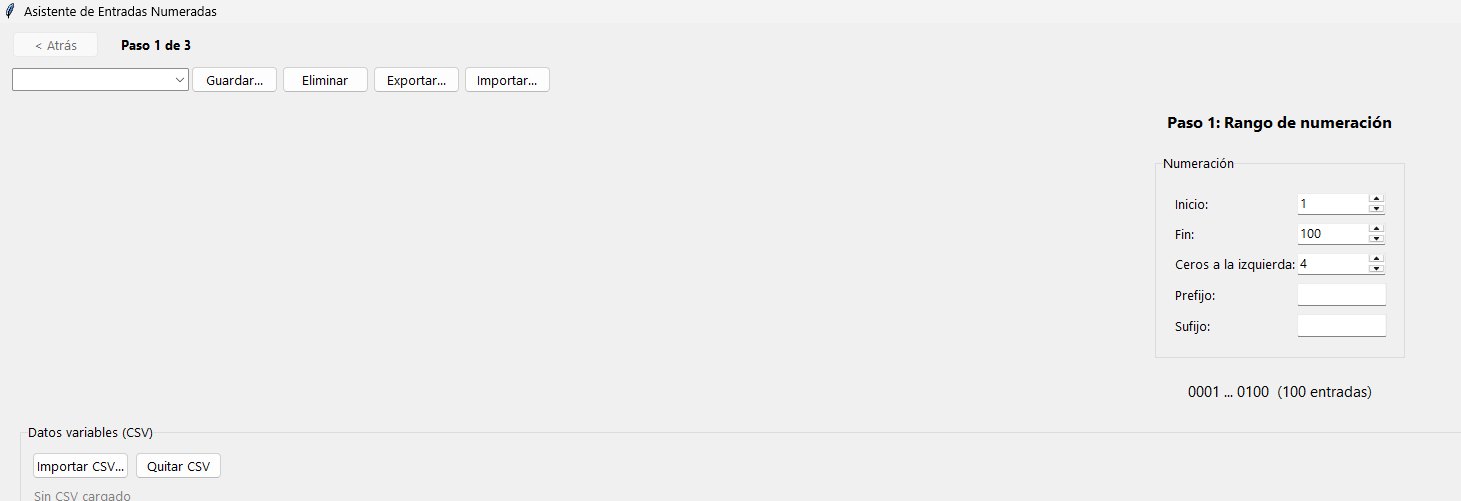
The numbered ticket wizard produces tickets, raffles or admissions with sequential numbering or variable data in a few steps. First you define the numbering range (from, to, increment) and the grid on the sheet.
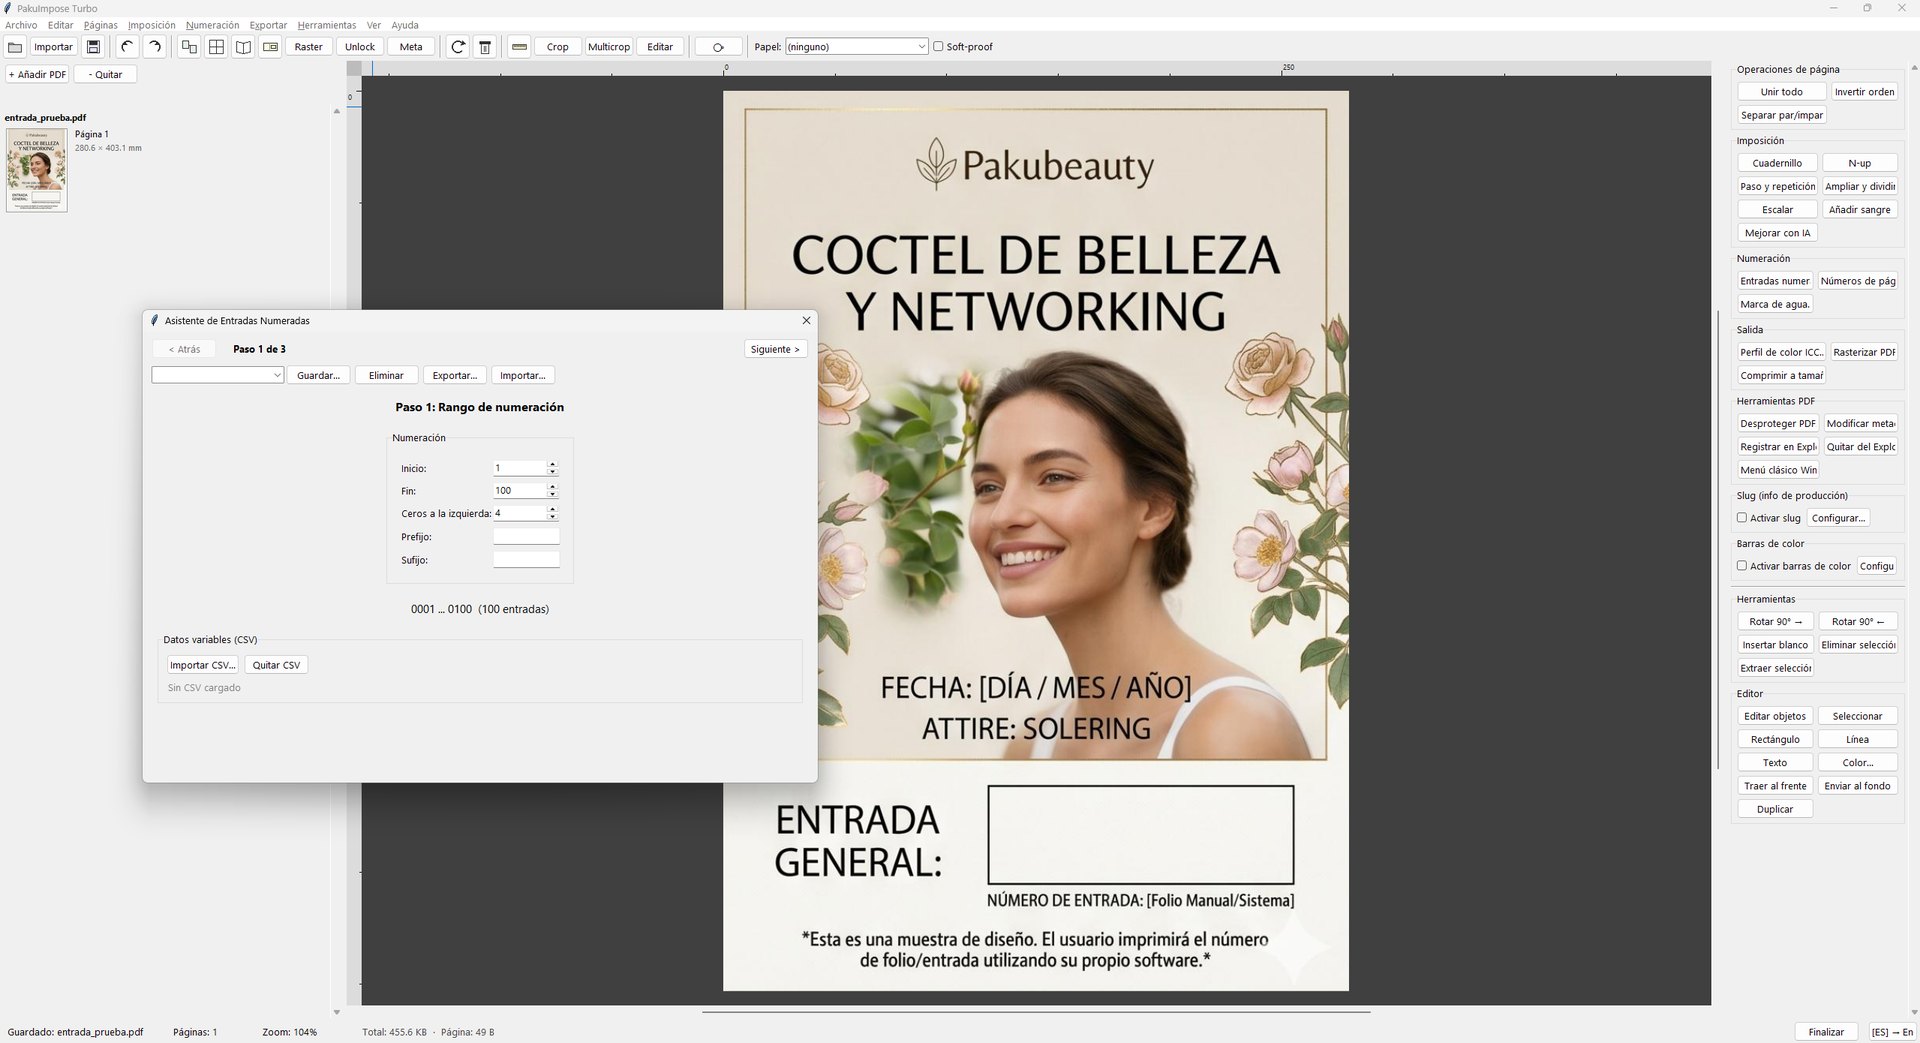
You can number sequentially or feed variable data from a CSV (names, codes, seats, amounts…) with automatic encoding and delimiter detection — the basis of variable data printing.
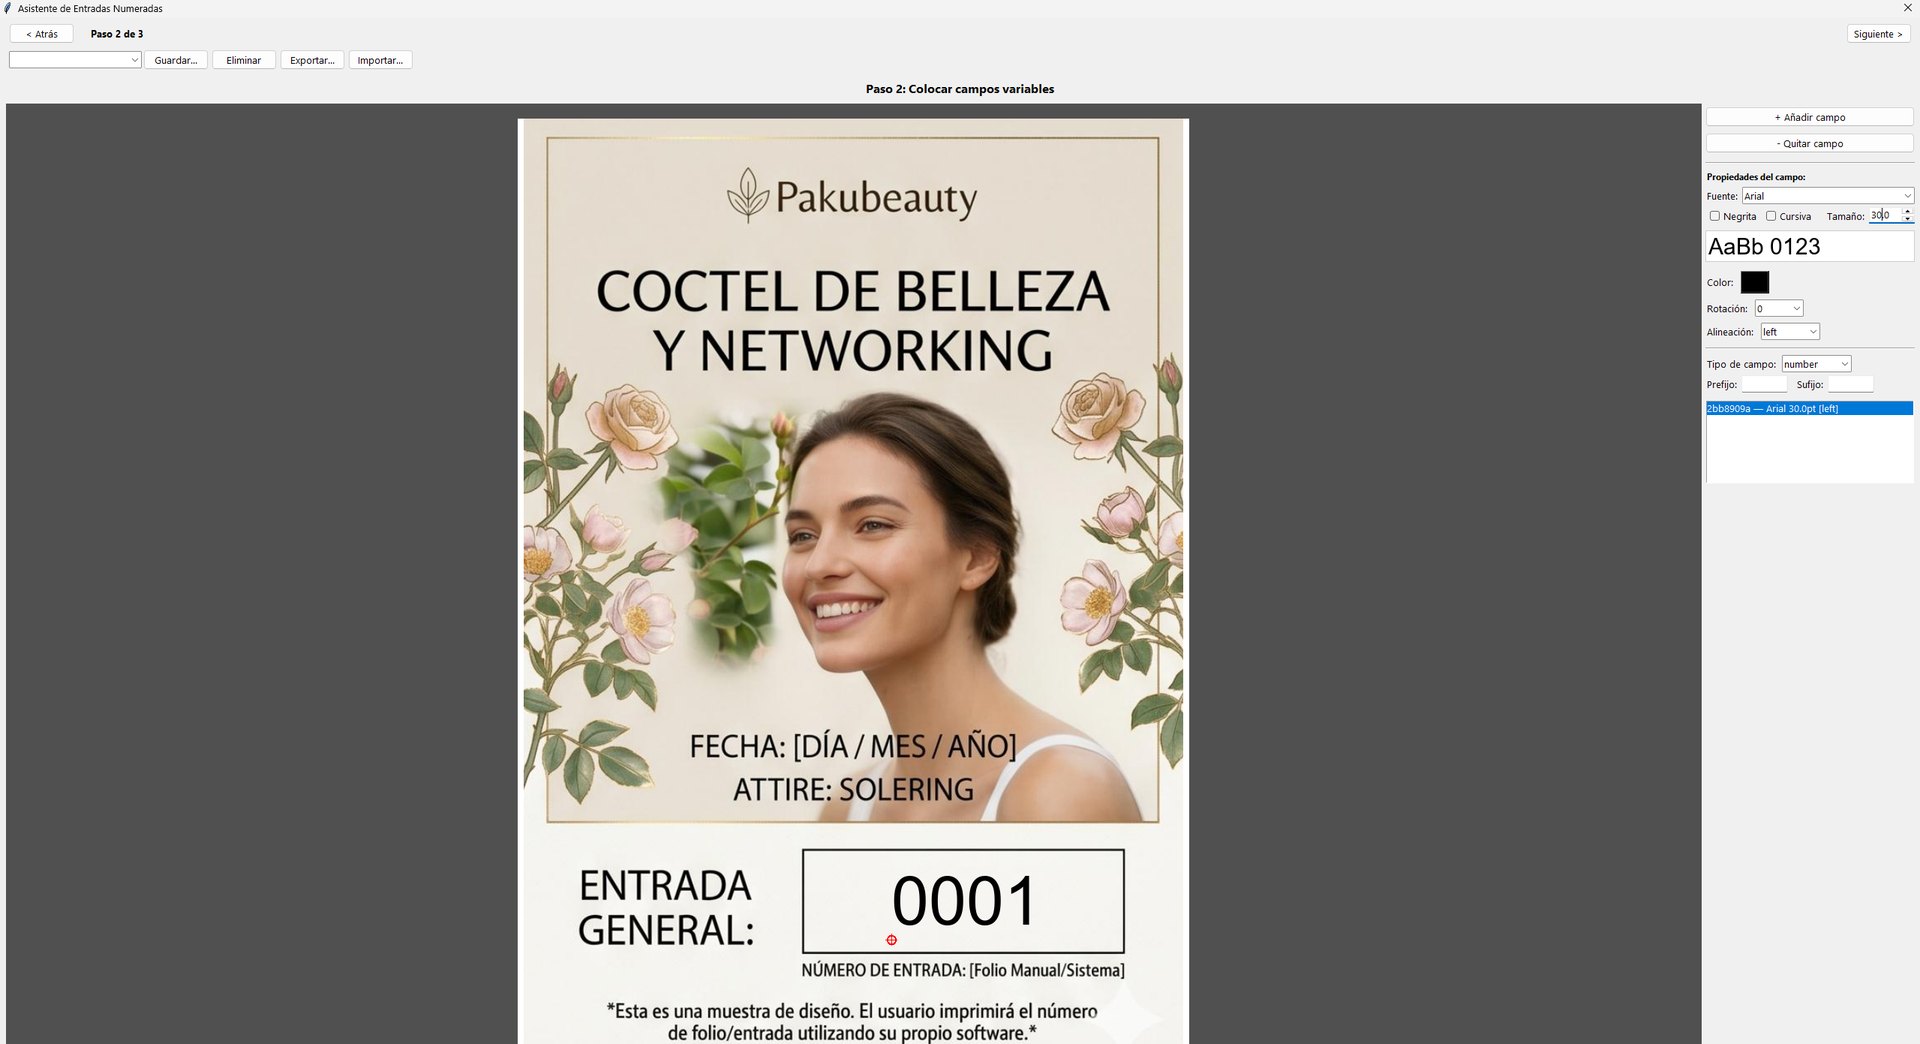
Then you place the variable fields by dragging them onto the ticket template (number, text, date…), with their font, color, rotation, prefix and suffix. And again, the resulting sheet is light and the RIP rasterizes it in no time.
The wizard also carries every Step & Repeat option, grouped into three tabs (Sheet, Layout and Marks): manual or automatic grid, scale, 0/90/180/270° rotation, bleed between copies, borders, sheet swap, auto-nesting and automatic roll height. When the ticket is scaled, the number scales with it and keeps its exact position. And there is an "Original" sheet size for when you don't want to impose at all: the output PDF is exactly the size of the source and simply comes out numbered.
The sheets also come out much lighter. The ticket is imported once and stamped into each position, and every variable text shares a single font resource instead of re-embedding the typeface on every sheet. A twenty-sheet job went from 830 KB to 69 KB: the same printed result, twelve times less to move across the network and for the RIP to digest.
09 — Page numbering and watermark
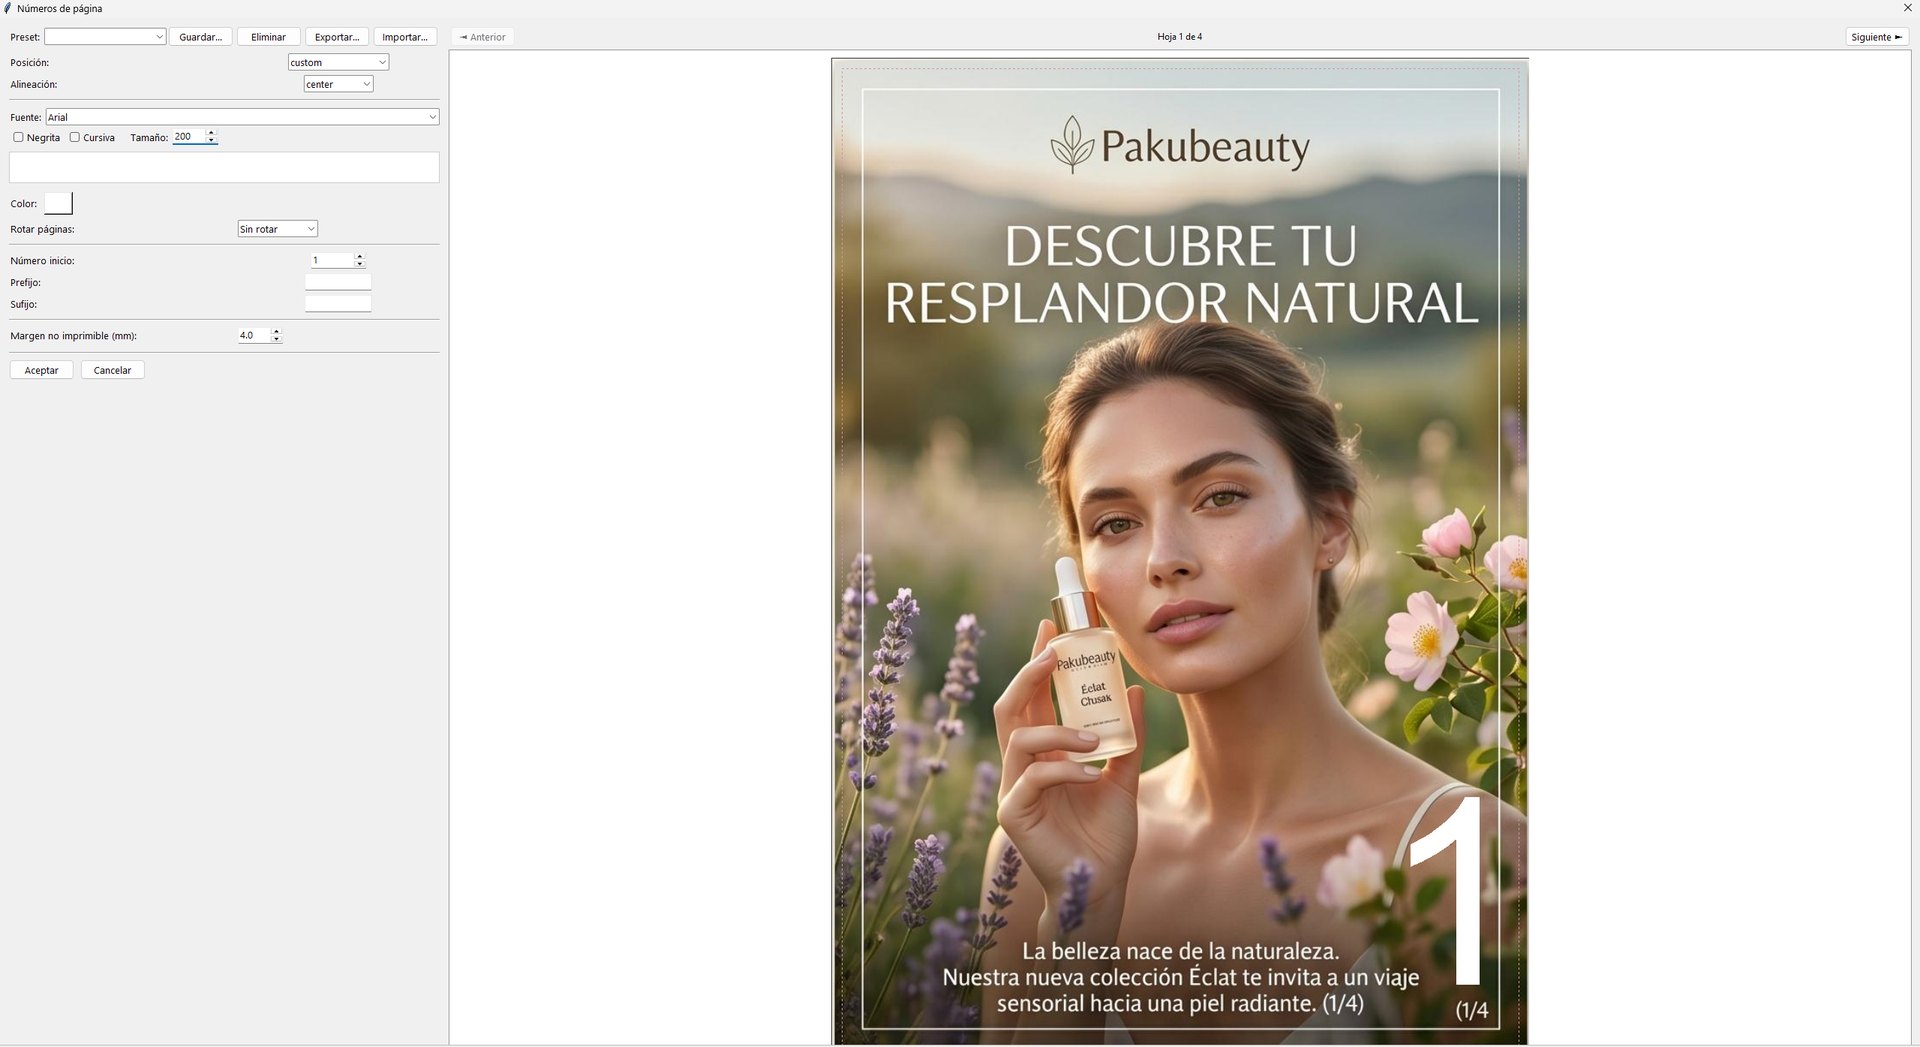
Page numbering / Bates — besides the ticket wizard, you can stamp page numbers or Bates numbering with configurable font, position and format over the range you choose.
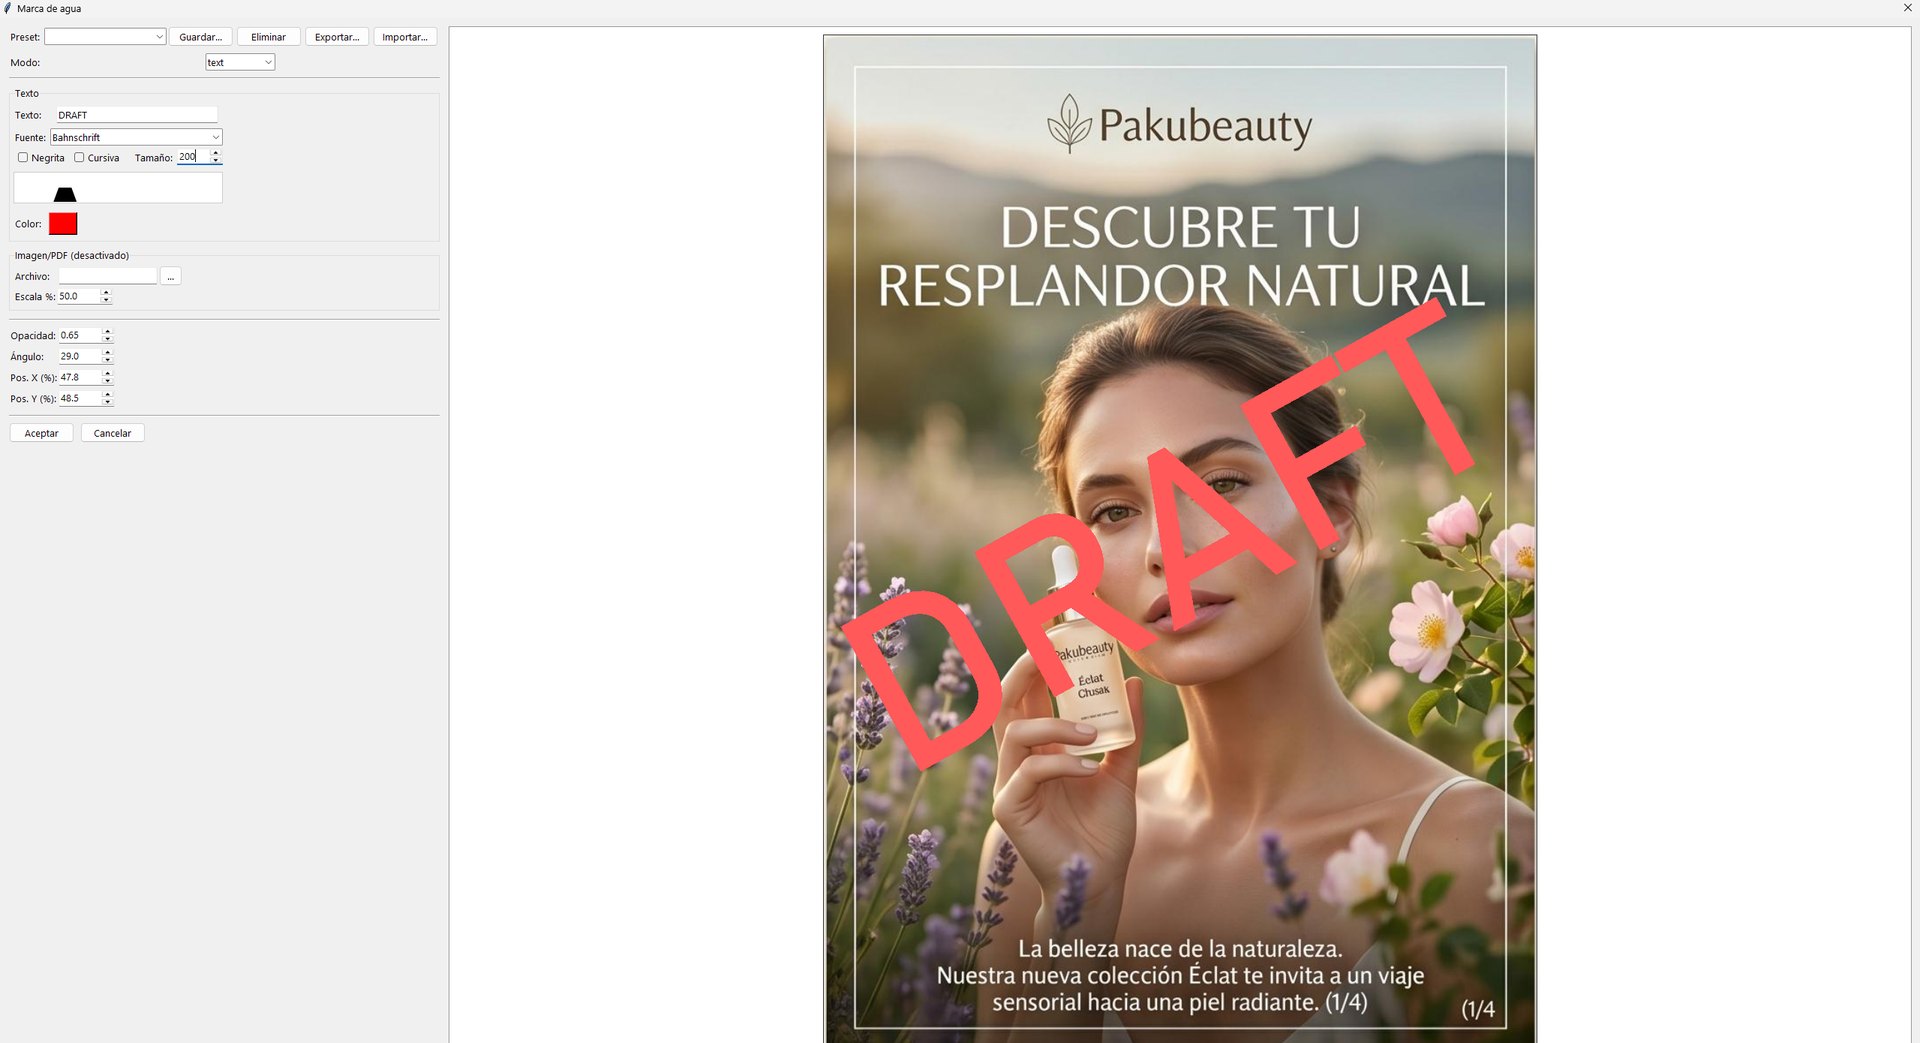
Watermark — apply a text or image watermark over the pages, with opacity, position and rotation. Useful for proofs, drafts or protecting originals. It can sit in front of the design or behind it (under the artwork, like a tinted background), and if the watermark is a PDF it is stamped as vector, never rasterized: the logo or seal keeps its clean lines and the file barely grows.
10 — Vector object editor
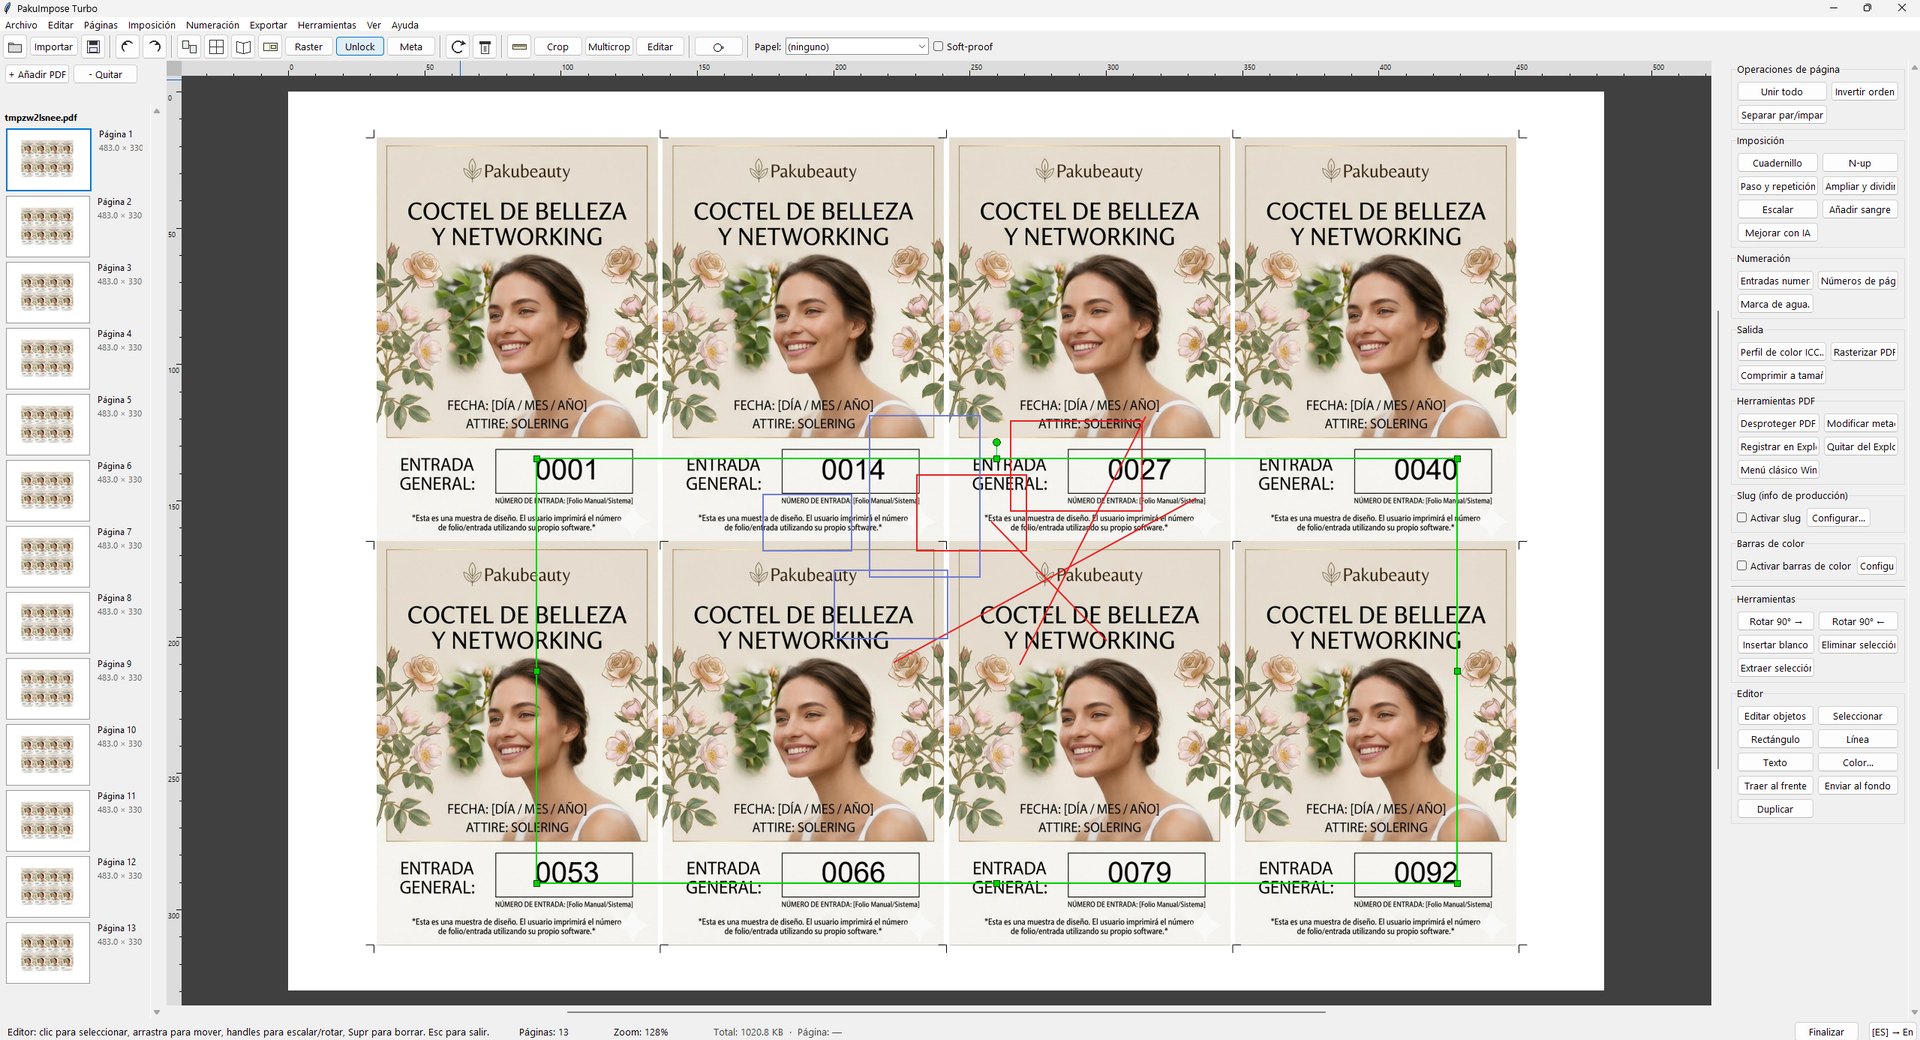
An on-canvas editing mode for last-minute touch-ups without leaving the program: select, move, scale, rotate and delete objects, draw rectangles and lines, add text, change color, reorder depth (z-order) and copy/paste — all with undo/redo. The drag is previewed with a lightweight overlay and only commits on release, so it stays smooth even on heavy pages. It is ready for the CMYK color common in print, so editing one object doesn't turn the surrounding text black.
11 — Color, ICC profiles and preflight
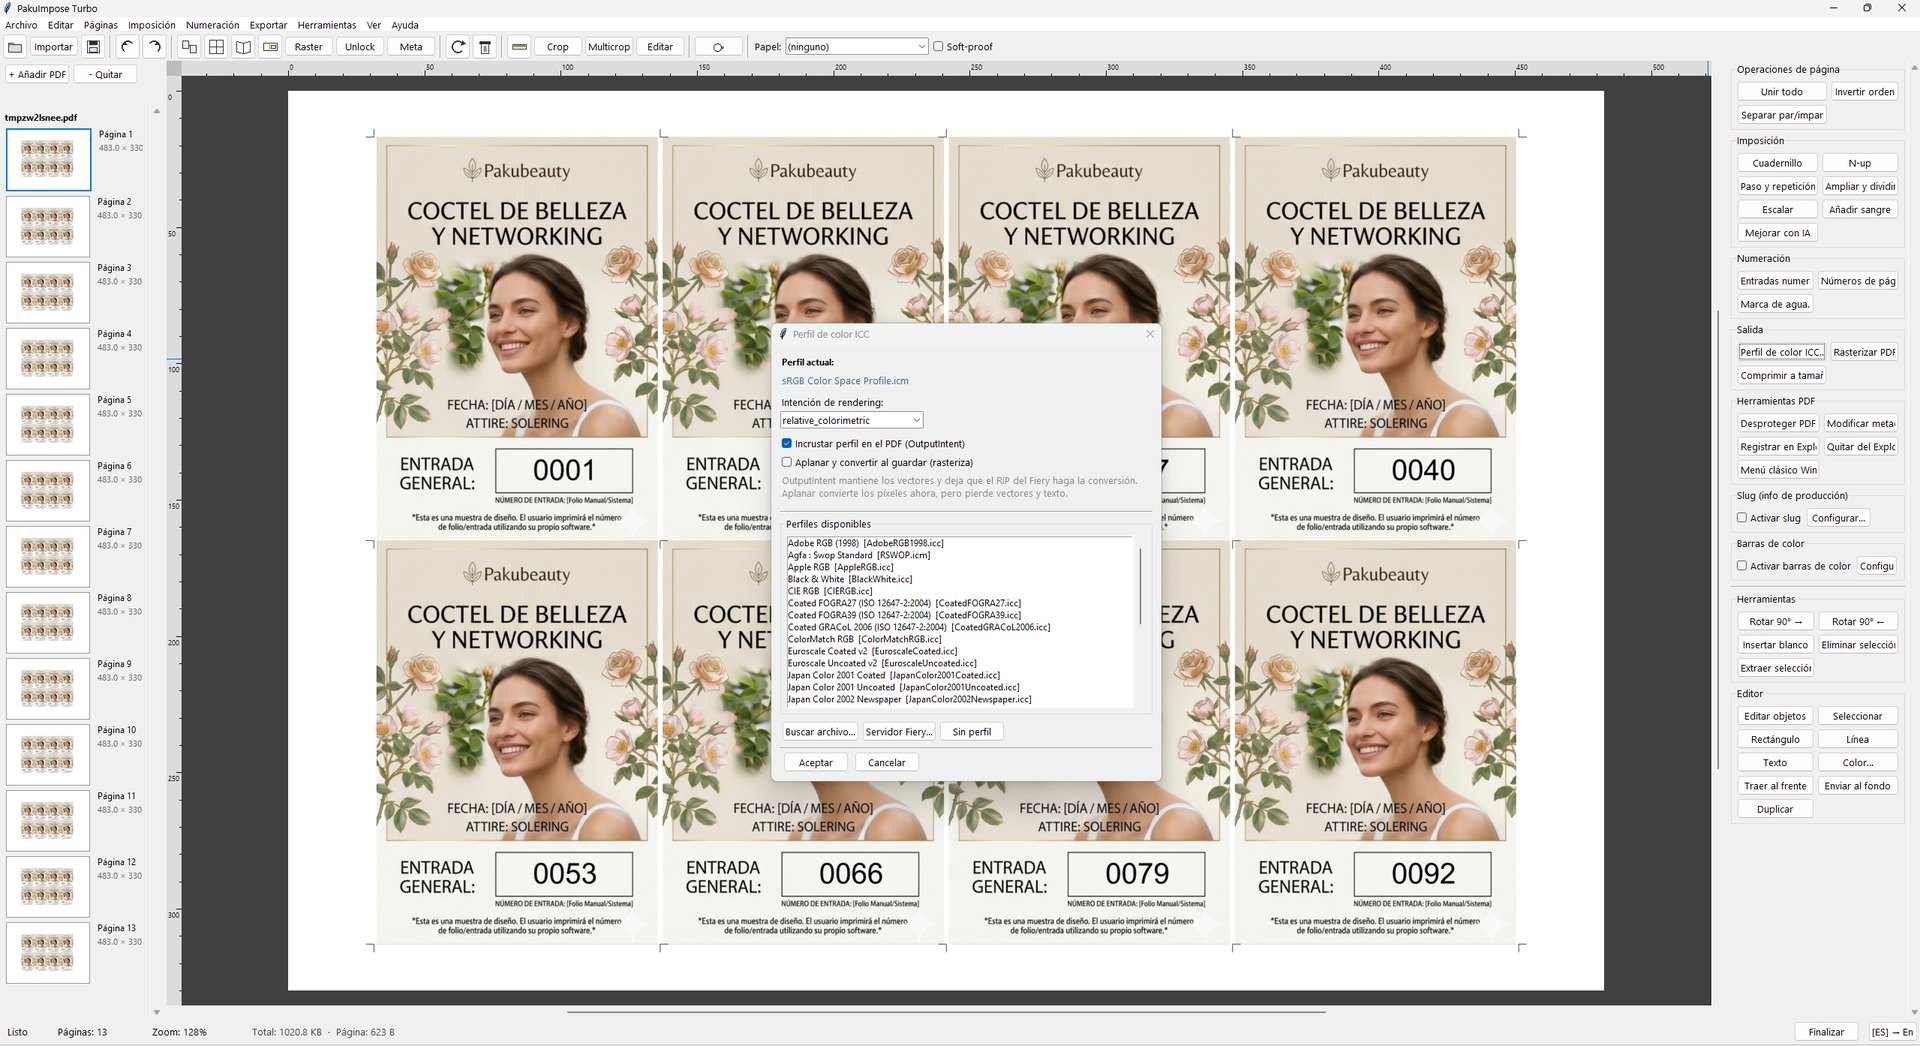
ICC profiles and soft-proof. PakuImpose loads ICC profiles and can simulate on screen how the job will look on a specific paper, without altering the file.
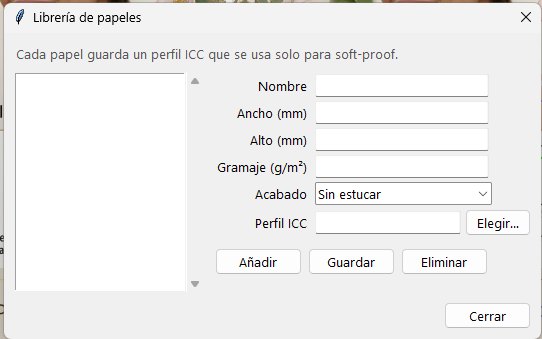
The paper library stores your stocks (size, weight, finish and profile) and a drop-down in the toolbar enables the soft-proof of the chosen paper without touching the global output profile.
The ICC profile manager lists at a glance the profiles installed on the system and the ones the print server exposes, lets you install a new one into the Windows store from inside the program, and lets you flag favorites so the four you actually use stay at the top.
Preflight. Before saving, it checks the document (low resolutions, color spaces, fonts…) and lists the issues; selecting one highlights in red the affected image or object in the preview so you can spot it at a glance. If the PDF is clean no dialog appears at all: it only interrupts you when there is something to look at.
Sensible color philosophy: a normal save comes out clean and vector, and the color conversion is done by the RIP with its per-paper profiles — PakuImpose does not inject intents that shift color behind your back. If you need a PDF/X with an embedded output intent, it's an optional checkbox.
12 — Merge, organize and export PDF
The everyday prepress utilities, with draggable thumbnails and multiple selection: merge / combine several PDFs, reverse order, split odd/even, rotate, insert blank pages, delete and extract pages. Also import images (JPG, PNG, TIFF…) converting them to a one-page PDF while preserving DPI.
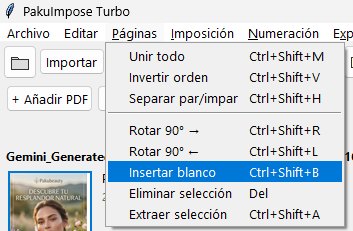
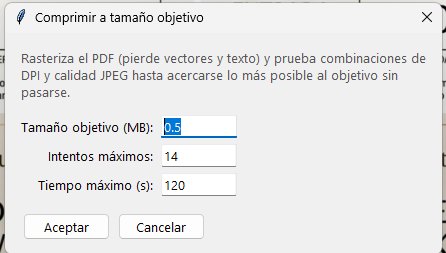
Compress to target size — you say "I want this PDF at X MB" and the program searches for the DPI and quality combination that gets closest without going over. It renders once and tries combinations in memory, so the search is fast and usually nails 98–100% of the target.
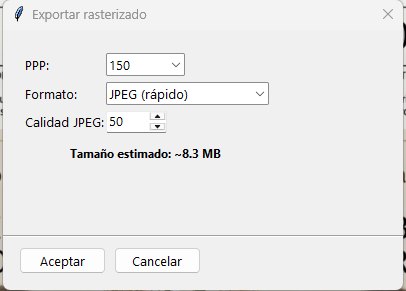
Rasterize PDF in streaming — export to a rasterized PDF at the resolution you choose, processing page by page so RAM doesn't blow up even with a huge original.
13 — Template overlays and PDF utilities
Template overlays. Load a template PDF (a client's guide, a die-cut, a print format) and PakuImpose composites it semi-transparent over your design, at its real size and centered — it never stretches it to fit, because the whole point is to see exactly where it does NOT line up. You adjust opacity and blend mode, save several named templates, and check at a glance that your artwork respects margins, die-cut and safety zones before sending to print.
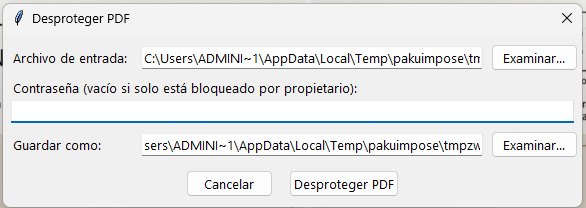
Plus two two-click utilities:
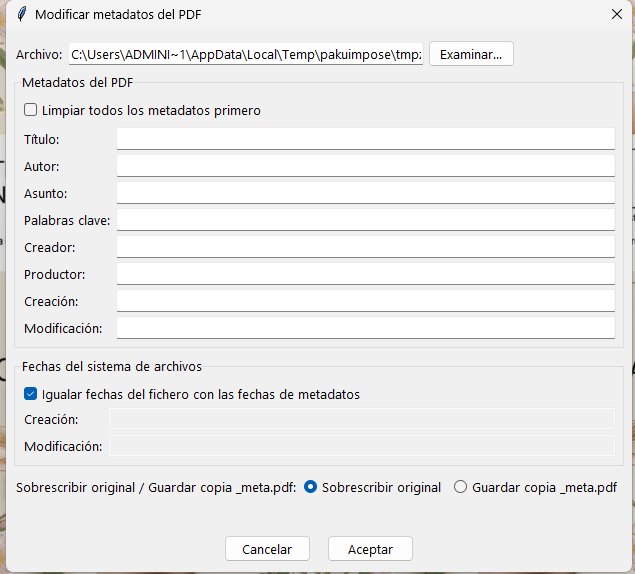
Rounding out the set: the optional slug strip and color bar in the sheet margin (with live preview) and the Windows Explorer integration: a right-click submenu on PDFs and images to launch the most-used actions — convert JPG or TIFF to PDF, merge, step & repeat, booklet, n-up — with no administrator rights, plus a toggle to bring back the classic Windows 11 context menu.
And two more everyday conveniences: the built-in screen capture (Ctrl+Shift+O) copies the whole window or the area you mark straight to the clipboard, so you can paste it into an email without leaving the program; and the "Open PDFs with PakuImpose" button registers it as a PDF reader and drops you right on the Windows screen where the default app is chosen — Windows does not let an application make itself the default, so that last click has to be yours, but at least you don't have to go hunting for it.
14 — Performance with huge files
PakuImpose started as a performance fork of an earlier tool, with the specific goal of making the heavy operations — parsing, imposing large grids, rasterizing at 300 DPI, opening multi-GB PDFs over the network — substantially faster. It does so with no GPU and no new hardware:
- Shared objects, light files: imposing, repeating or multicropping references the same object instead of duplicating bytes, so sheets stay small and the RIP rasterizes them only once → very fast output.
- Fast open: for an unmodified document it reads straight from disk instead of re-serializing the PDF, saving seconds on every open and every thumbnail.
- Viewport-only canvas: it rasterizes only the visible region (plus a margin), not the whole page, so zoom can be very high at no cost.
- Master texture: on heavy pages (a many-megapixel photo) it rasterizes the page once at high resolution and then zoom and pan only sample that bitmap — milliseconds per frame instead of hundreds.
- Deferred panning, an image cache, and an optional native accelerator (in Rust) that rasterizes outside the interpreter, with automatic, transparent fallback if it isn't available.
It is also tuned for modest office machines: it detects when a render is expensive and adapts the animations so there's no stutter. Thumbnails are generated in an isolated process so loading a heavy PDF never hangs the application.
The latest round of work went into startup and file opening. The program appears on screen instantly and no longer loads the PDF, imaging and AI engines while you wait: they warm up on their own in the background once the window is up. The page list builds only the rows you can see — and renders only the thumbnails you can see, at the resolution they actually need — so on a 320-page PDF that goes from 21 seconds of work to half a second, and building the list itself from 1.2 seconds to under two tenths. Opening a 41 MB print job went from 938 to 531 milliseconds, and the first zoom into a page with large images from seven tenths of a freeze to two hundredths.
15 — Install, icon and automatic updates
PakuImpose installs with a plain Windows installer that asks for no administrator rights (it installs for the user, though you can choose a machine-wide install) and uninstalls just as easily. The program is compiled to machine code, so it unpacks nothing at launch: the window is there on the first try.
Once installed it looks after itself. At most once a day it checks whether a newer version sits in the network folder you point it at and, if so, updates silently and reopens. The check runs in the background with a very short timeout, so a server that is switched off never delays startup. And if you open the program with work in hand — a PDF dropped on it, or an automated job — it will not update right then, so nothing you are doing is thrown away: it waits for the next clean launch. In a print shop with several workstations that means updating the whole fleet by dropping one file into a folder.
After each update a what's new window appears once, listing what changed since your previous version — and if you skipped three versions, all of them show up. And, at last, an icon of its own: on the executable, the Start menu, the desktop, the Explorer context menu and the window.
16 — Printing and RIP submission
Local printing to any Windows printer, with ICC color management in the print path. It uses a lightweight viewer for silent vector printing when available, and otherwise a dependency-free path of its own.
RIP submission via SMB hot folder or LPR queue, compatible with Fiery and other print servers. Submission always goes to the hold queue: the job is held so you can inspect and release it from the RIP, never printed straight away by surprise. It auto-detects servers on the local network.
17 — Everything in menus and with keyboard shortcuts
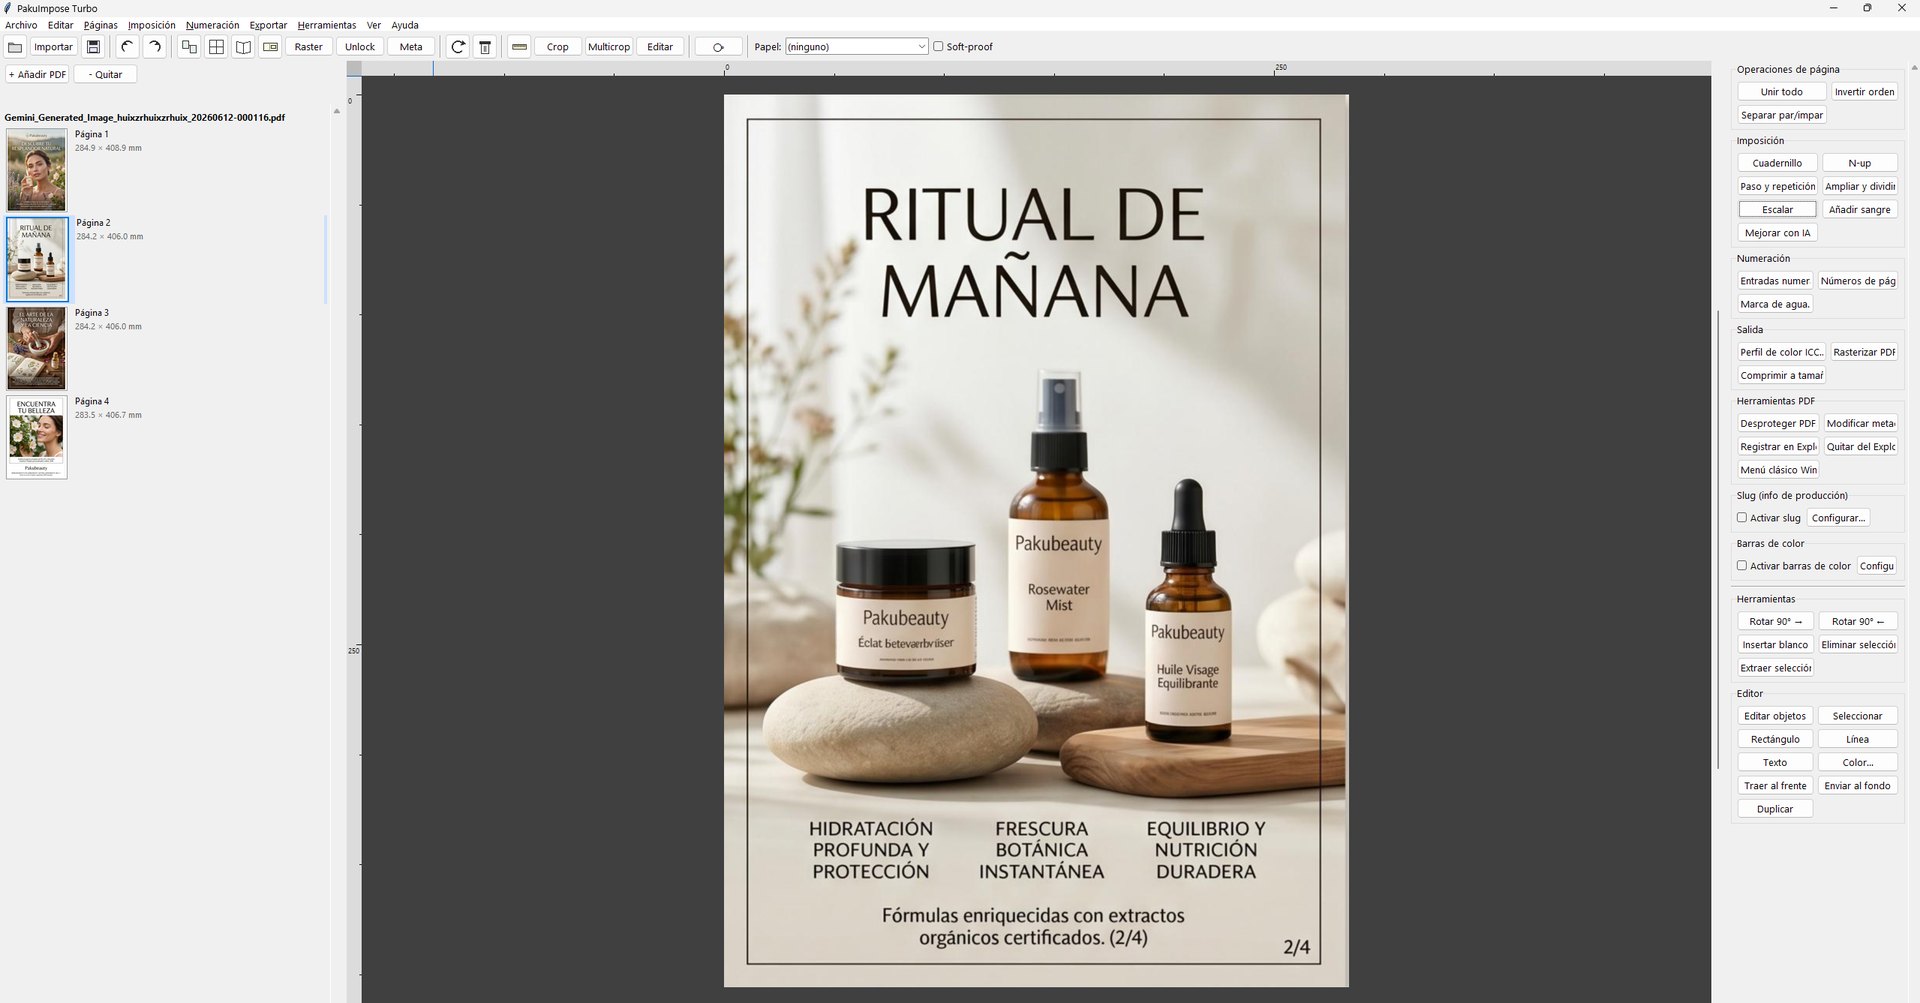
Every operation is reachable three ways: in the toolbar, in the right-hand panel and in the menus. And almost all have a keyboard shortcut, written in the menu itself and in the help (F1). The fast operator never touches the mouse.
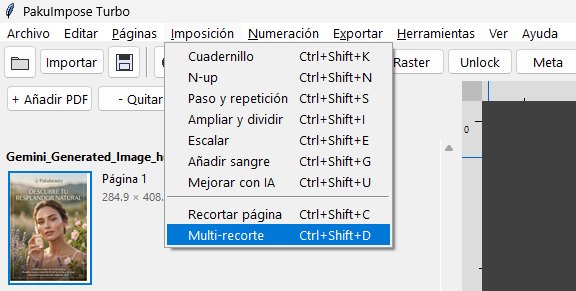
Ctrl+Shift+K, n-up Ctrl+Shift+N, step & repeat Ctrl+Shift+S, tiling Ctrl+Shift+I, scale Ctrl+Shift+E, add bleed Ctrl+Shift+G, AI enhance Ctrl+Shift+U, crop Ctrl+Shift+C and multicrop Ctrl+Shift+D.And if the scheme isn't to your liking, the shortcut editor lets you reassign more than thirty actions: you press whatever combination you want, the program captures it and warns you if it clashes with one already in use.
18 — Requirements and licensing
Requirements: Windows 10 or 11, 64-bit. A light installer that asks for no administrator rights. Bilingual Spanish/English interface. The AI features (bleed fill, resolution enhancement and fill-on-scale) are optional and download their model the first time they're used.
PakuImpose is a commercial product with flexible licensing: we adapt to every budget, from a single seat to a whole print-shop fleet. And it doesn't stop there — we integrate whatever your workflow needs: AI control, MCP servers to drive the program from an assistant, ERP integration or order systems, batch automation… Tell us what you need and we'll tailor it.